

A smart restaurant kitchen layout is so much more than just where you put the equipment. Think of it as the literal blueprint for how your business runs—it dictates how your team moves, how fast food gets to the customer, and ultimately, how profitable you can be. It’s what turns a potentially chaotic space into a high-performance culinary engine.
The Foundation of Efficient Kitchen Workflow
Ever been in a poorly designed kitchen? It feels like a city with non-stop traffic jams. Every trip for an ingredient or a tool is a frustrating detour, burning precious time and energy. A good kitchen layout, on the other hand, is like a well-planned highway system, making sure every person and product moves along the most direct path possible. This isn't some brand-new idea; it's an evolution of concepts that have shaped kitchen efficiency for decades.
At the heart of it all is a principle that actually started in home kitchens but proved its value immediately in commercial settings: the work triangle. This classic concept connects the three main work areas—storage, cooking, and cleaning—into an efficient, triangular path. The goal is simple: slash the number of steps a chef has to take between these crucial points.
From Simple Triangles to Complex Zones
The work triangle really got people thinking about kitchen ergonomics. In fact, studies show that a well-executed triangle can cut down the distance staff travel during service by a staggering 30-40%. That's a huge saving in a fast-paced kitchen. But let's be honest, the sheer volume and complexity of a modern restaurant demand something a bit more sophisticated.
This is where the 'zone-based' workflow comes into play. Instead of just three points, this model breaks the kitchen down into a series of specialized stations, or zones. Each one is dedicated to a specific task:
- Receiving and Storage: This is where ingredients first come in and get stored in your commercial refrigerators and commercial freezers.
- Preparation: The home of equipment like sandwich prep tables or pizza prep tables.
- Cooking: The main event, featuring your ranges, ovens, and deep fryers.
- Plating and Service: The final stop before a dish heads out to the dining room.
- Warewashing: The essential cleaning and sanitizing area.
Connecting Workflow to Your Bottom Line
When you create these dedicated zones, you establish a logical, one-way flow for your ingredients. A potato comes in at receiving, moves to prep to be cut, heads to the cooking line to be fried in a deep fryer, and finally lands at the service station for plating. This simple path prevents chaotic backtracking, cuts down the risk of cross-contamination, and minimizes staff bumping into each other during a chaotic dinner rush.
A well-designed workflow is the unsung hero of a profitable restaurant. It directly impacts labor costs by minimizing wasted movement, speeds up ticket times to increase table turnover, and enhances food consistency by creating an organized, less stressful environment for your chefs.
This deliberate organization isn't just about looking tidy. It’s a core business strategy. Whether you're a bustling coffee shop that depends on perfectly placed Seattle coffee shop refrigerators or a high-volume bar needing quick access to Seattle bar equipment and under counter refrigerators, the principles are the same. A thoughtful layout makes sure every single piece of equipment, from your under counter freezers to the main cooking line, works together to support your bottom line.
Designing Your Kitchen’s Five Essential Work Zones
A great restaurant kitchen isn't just a room with equipment; it's a finely tuned production line. The secret is creating a series of connected, specialized work zones. This approach creates a logical, one-way path for every ingredient and staff member, cutting out the chaotic backtracking that kills speed and efficiency. By setting up these five essential zones, you build a foundation for a smoother, more profitable operation.
The flowchart below shows how this thinking evolves, from a simple work triangle to a full zone-based system that directly impacts your bottom line.
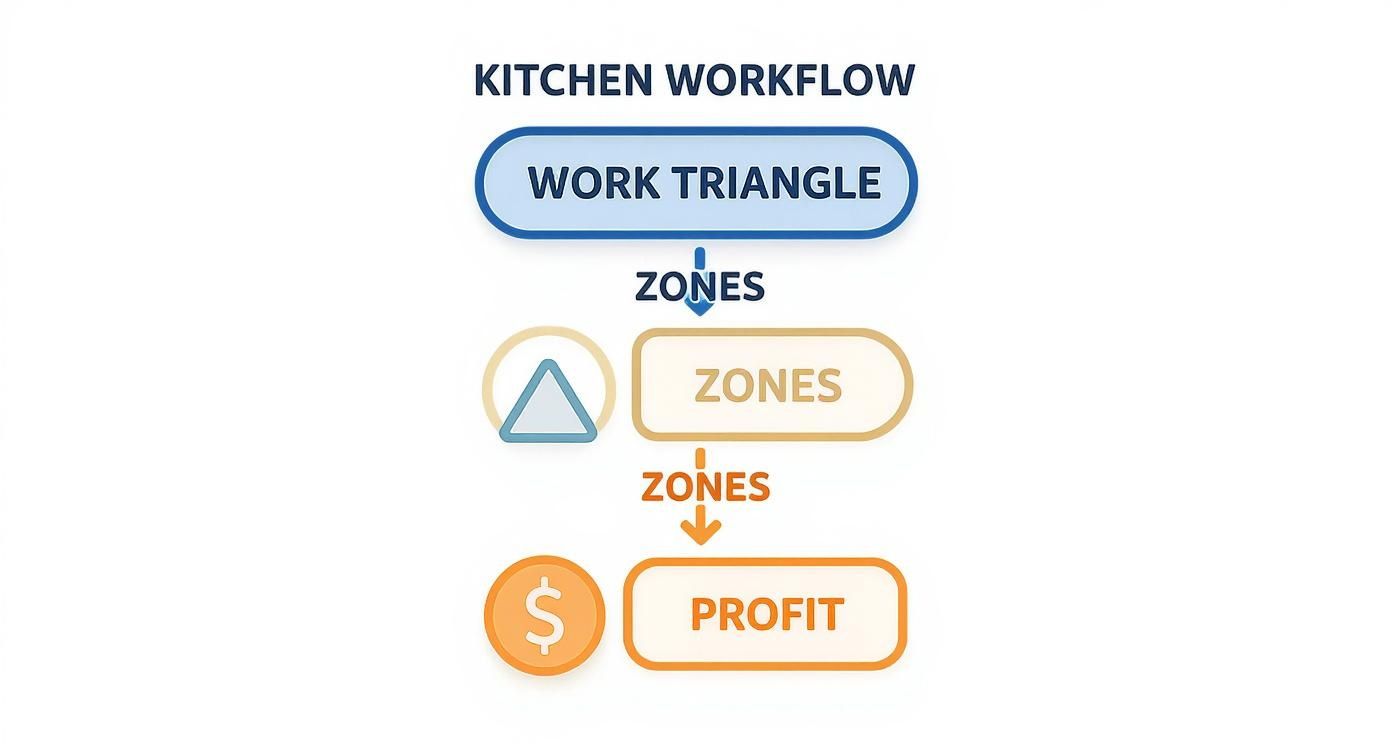
Moving to a zone-based system is the key to creating a kitchen that’s not just functional, but a true profit center.
Zone 1: Receiving and Storage
Everything begins at the back door. Your receiving zone needs to be right there for delivery trucks, keeping disruptions away from your kitchen and dining room. You'll need a clear space to check invoices and a scale to make sure you got what you paid for.
From there, ingredients go straight into storage—a combination of cold and dry solutions. High-quality commercial refrigerators and commercial freezers are the heart of this zone, protecting thousands of dollars in food. For anyone operating in Washington, you can find the right commercial refrigerators in Seattle to fit your space and menu.
Zone 2: Preparation
After ingredients are pulled from storage, they land in the prep zone. This is where the real work starts: chopping vegetables, butchering meat, and mixing sauces. To keep things moving forward, this area should be placed right between your storage and the main cooking line.
You'll need stainless steel work tables, sinks for washing produce, and other specialized prep equipment. A deli needs a sandwich prep table with refrigerated rails for speed. A pizzeria’s workflow gets a massive boost from a pizza prep table that keeps every topping chilled and close at hand.
Zone 3: The Cooking Line
This is the heart of the kitchen. The cooking line is the hot, fast-paced zone where raw ingredients become finished dishes. How you arrange your equipment here is critical for speed and consistency. Always place your gear in the order it’s most often used for your specific menu.
This is home to your ranges, ovens, charbroilers, and high-capacity deep fryers. For a coffee shop, this zone might be smaller, built around espresso machines and ovens. For a bar, the focus will be on essential Seattle bar equipment and smaller cooking appliances.
An intelligently organized cooking line minimizes the steps a chef takes. When a cook can pivot instead of walk to get from the fryer to the plating station, you save precious seconds on every single order.
Zone 4: Plating and Service
Once a dish is cooked, it moves to the plating and service zone, also known as "the pass." Think of it as the final quality control checkpoint before food reaches the customer. It has to be right next to the cooking line to get dishes out while they're still hot and fresh.
This area needs heat lamps, plating surfaces, and space for all your garnishes. It's also the critical communication hub between your kitchen and front-of-house staff, so its location must allow both teams to connect without tripping over each other.
Zone 5: Warewashing
The final zone brings everything full circle. The warewashing area is where dirty dishes, pans, and utensils return for cleaning and sanitizing. It is absolutely essential to keep this zone physically separate from your food prep and cooking areas to prevent cross-contamination.
Key equipment here includes a three-compartment sink for washing, rinsing, and sanitizing, plus a commercial dishwasher to handle the volume. Good drainage and non-slip flooring are non-negotiable for safety. You’ll also need plenty of shelving for air-drying and storing clean items, ready to start the cycle all over again.
Choosing the Right Kitchen Layout for Your Restaurant

Here’s the first rule of kitchen design: your concept leads, and the kitchen follows. Don't ever let it be the other way around. There’s no single "best" layout out there—only the one that feels like it was built just for your menu, your space, and your style of service. Picking the right restaurant kitchen layout design is really about building a workspace that helps your team, not hinders them.
This decision is the foundation for your whole operation. It dictates how fast you can get plates out, how well your team communicates, and how smoothly the whole night runs. Let’s walk through the five most common layouts in the industry to see what makes them tick and where they shine.
The Assembly Line Layout
Picture a packed sandwich shop during the lunch rush. That’s the assembly line layout in its natural habitat. It’s a simple, straightforward setup where workstations and equipment are arranged in a straight line, letting a dish move from one station to the next without any backtracking.
This layout is the undisputed champion of speed when you're cranking out the same items over and over.
- Prep: Ingredients come out of commercial refrigerators and get prepped at the beginning of the line.
- Assembly: Staff build the dish in order, usually on specialized sandwich prep tables.
- Cooking: From there, it moves down to the hot stuff, like deep fryers or grills.
- Plating & Service: At the very end, the finished meal is wrapped up or plated and sent out.
While it’s a powerhouse for fast-casual spots, that rigid, one-way flow just doesn’t work for fine dining restaurants juggling complex dishes with lots of moving parts.
The Island Layout
With an island layout, you put a big block of cooking equipment—think ranges, grills, and fryers—right in the center of the room. Everything else, like prep stations, storage, and the dish pit, gets arranged along the outer walls.
This design turns the cooking line into a central hub, which is perfect for big kitchens where chefs need to communicate and coordinate constantly. It creates a ton of open space for movement and lets the head chef see everything that’s going on. The catch? It eats up a lot of square footage and requires some serious overhead ventilation, making it a no-go for smaller kitchens.
The Zone-Style Layout
Also known as a modular layout, this approach carves the kitchen into different zones based on the type of dish. You might have a dedicated salad station over here, a grill station over there, a fry station, and a separate spot for desserts, each with its own set of tools.
The Zone-Style layout is a lifesaver in full-service restaurants with diverse menus. Each station can pretty much operate on its own, which stops bottlenecks before they start and lets chefs focus on their craft without tripping over each other.
This setup is incredibly flexible. Different parts of a single order can be fired and finished at the same time. A smart zone-style kitchen will have equipment like under counter refrigerators and under counter freezers tucked into each station, so chefs have everything they need within arm's reach.
The Galley Layout
When space is the biggest challenge, the galley layout is your best friend. It’s simple: all your equipment and workstations are lined up along two parallel walls, creating a single corridor for staff to work in.
This tight, compact arrangement is the go-to for food trucks, small cafes, and ghost kitchens. In a coffee shop, you might see Seattle coffee shop refrigerators and a prep counter on one wall, with the espresso machine and ovens directly opposite. It’s incredibly efficient with limited square footage, but it can get cramped fast, making it tough for larger teams or high-volume service.
The Open Kitchen Layout
The open kitchen tears down the wall between the back and front of house, turning the cooking process itself into part of the show. It’s a fantastic way to build trust with customers and add a shot of energy to the dining room.
But putting everything on display comes with its own set of rules. Cleanliness has to be flawless, and your staff needs to stay cool and professional, even when the pressure is on. You'll also need better-looking equipment and a top-notch ventilation system to keep noise and smoke from ruining the vibe. For upscale restaurants that want to showcase their chefs' skills, it’s a powerful marketing tool.
Selecting Your Core Kitchen and Bar Equipment
A brilliant layout on paper is one thing, but the right equipment is what brings that blueprint to life. It's what turns an empty space into the high-performance engine that drives your business. This is where you make the strategic choices, picking the commercial-grade workhorses from Seattle Restaurant Equipment that will become the backbone of your daily grind.
Making these decisions isn't just about matching specs to a floor plan. It’s about making sure every single piece of equipment lines up with your menu, your expected volume, and your unique style of service. Get this right, and you'll maximize both your efficiency and your return on investment.
Mastering Your Cold Storage Strategy
Think of refrigeration as the circulatory system of your kitchen. It keeps your valuable inventory fresh, safe, and ready to go. The trick is to balance big, bulk storage units with smaller, strategically placed ones for quick access during service.
Your large walk-in or reach-in commercial refrigerators and commercial freezers are your anchors. They belong in your main storage zone, holding bulk deliveries of produce, meat, and dairy. But during a busy dinner rush, you can't have your line cooks sprinting back to the walk-in for every handful of cheese or tomato. That just won't fly.
This is where smaller, decentralized units save the day. Under counter refrigerators and under counter freezers are total game-changers when you tuck them directly into prep stations and right on the cooking line. They put essential ingredients within arm's reach, saving countless steps and shaving precious seconds off every ticket time. This dual approach—big units for bulk, small units for the line—is a true sign of an intelligent kitchen design.
Specialized Prep Tables for Peak Efficiency
Not all prep tables are created equal. Choosing the right one has a direct impact on your kitchen's speed and organization. For some kitchens, a basic stainless steel table for chopping and mixing is all you need. But if your concept is built around specific menu items, specialized tables are a must-have investment.
Just look at the difference between a standard sandwich prep table and a dedicated pizza prep table. They might look similar at first glance, but they're engineered for completely different workflows.
-
Sandwich Prep Tables: These are designed with refrigerated rails to hold lots of smaller pans for cold cuts, toppings, and cheeses, with a cutting board right out front. This is the perfect setup for delis and fast-casual spots where speed is everything.
-
Pizza Prep Tables: These bad boys are built with wider, refrigerated rails to fit bigger bins for sauce, cheese, and pepperoni. They also have a deeper work surface, often made of marble or granite, that’s ideal for stretching dough. Trying to run a pizzeria with a standard table will create a bottleneck you'll never get out of.
Think of specialized equipment not as a cost, but as an investment in your workflow. The right prep table can easily double a station's output during a peak rush. It pays for itself fast in labor savings and more sales.
Choosing the right equipment is all about matching the tool to the task. To help you navigate the options, here's a quick guide to some essential pieces you'll find at Seattle Restaurant Equipment.
Seattle Restaurant Equipment Selection Guide
| Equipment Category | Specific Product | Best For (Restaurant Type) | Key Selection Factor |
|---|---|---|---|
| Refrigeration | Commercial Refrigerator | Any Restaurant | Size and energy efficiency for bulk storage. |
| Refrigeration | Commercial Freezer | Any Restaurant | Upright vs. chest style based on kitchen space. |
| Refrigeration | Under counter refrigerators | Fast-Casual, Bars, Cafes | Placement at point-of-use to reduce steps. |
| Refrigeration | Under counter freezers | Bars, Prep Stations | Compact freezing for high-use ingredients. |
| Prep Stations | Sandwich Prep Table | Delis, Sandwich Shops | Number and size of refrigerated ingredient pans. |
| Prep Stations | Pizza Prep Table | Pizzerias, Italian Restaurants | Depth of the work surface and rail size. |
| Bar & Cafe | Seattle bar equipment | Bars, Pubs, Nightclubs | Workflow, ice production, and underbar storage. |
| Bar & Cafe | Seattle coffee shop refrigerators | Coffee Shops, Cafes | Merchandising display and milk cooler placement. |
| Cooking | Deep Fryer | Full-Service, QSR, Food Trucks | Oil capacity and temperature recovery time. |
This table is just a starting point. The best choice always comes down to the specifics of your menu, your projected customer volume, and the flow of your kitchen space.
Equipping Your Bar and Cafe for Speed
These same ideas about workflow and specialized gear apply just as much outside the main kitchen. For bars and coffee shops, having the right equipment is what allows a small team to serve a ton of customers, fast.
Essential Seattle bar equipment usually centers on high-capacity ice machines and efficient underbar refrigeration. Bottle coolers and glass chillers that are easy to reach keep the service area humming. Every piece is designed to keep the bartender's movements to a minimum, letting them build complex drinks without taking more than a step or two.
Likewise, Seattle coffee shop refrigerators are built for a specific job. You'll see glass-door merchandisers showing off grab-and-go items, while under counter milk coolers are positioned right next to the espresso machine. This smart placement means a barista can pull a shot, steam milk, and finish an order in one smooth, fluid motion.
Finally, for almost any concept, from bars serving wings to full-service restaurants, high-volume deep fryers are a staple. Picking a model with the right capacity and recovery time is critical. It ensures you can keep up with orders for fries and other popular items without slowing down the entire line. Matching the fryer’s power to your sales forecast is one of those key decisions that affects both your speed and the quality of your food.
Bringing Your Kitchen Layout to Life with Examples
All this talk about zones and workflow is great in theory, but seeing it in action is what really makes it click. Let's walk through a few real-world examples to connect the dots. By looking at sample layouts for different types of restaurants, you can see exactly how smart equipment placement creates a kitchen that’s perfectly tuned to a specific menu and service style.
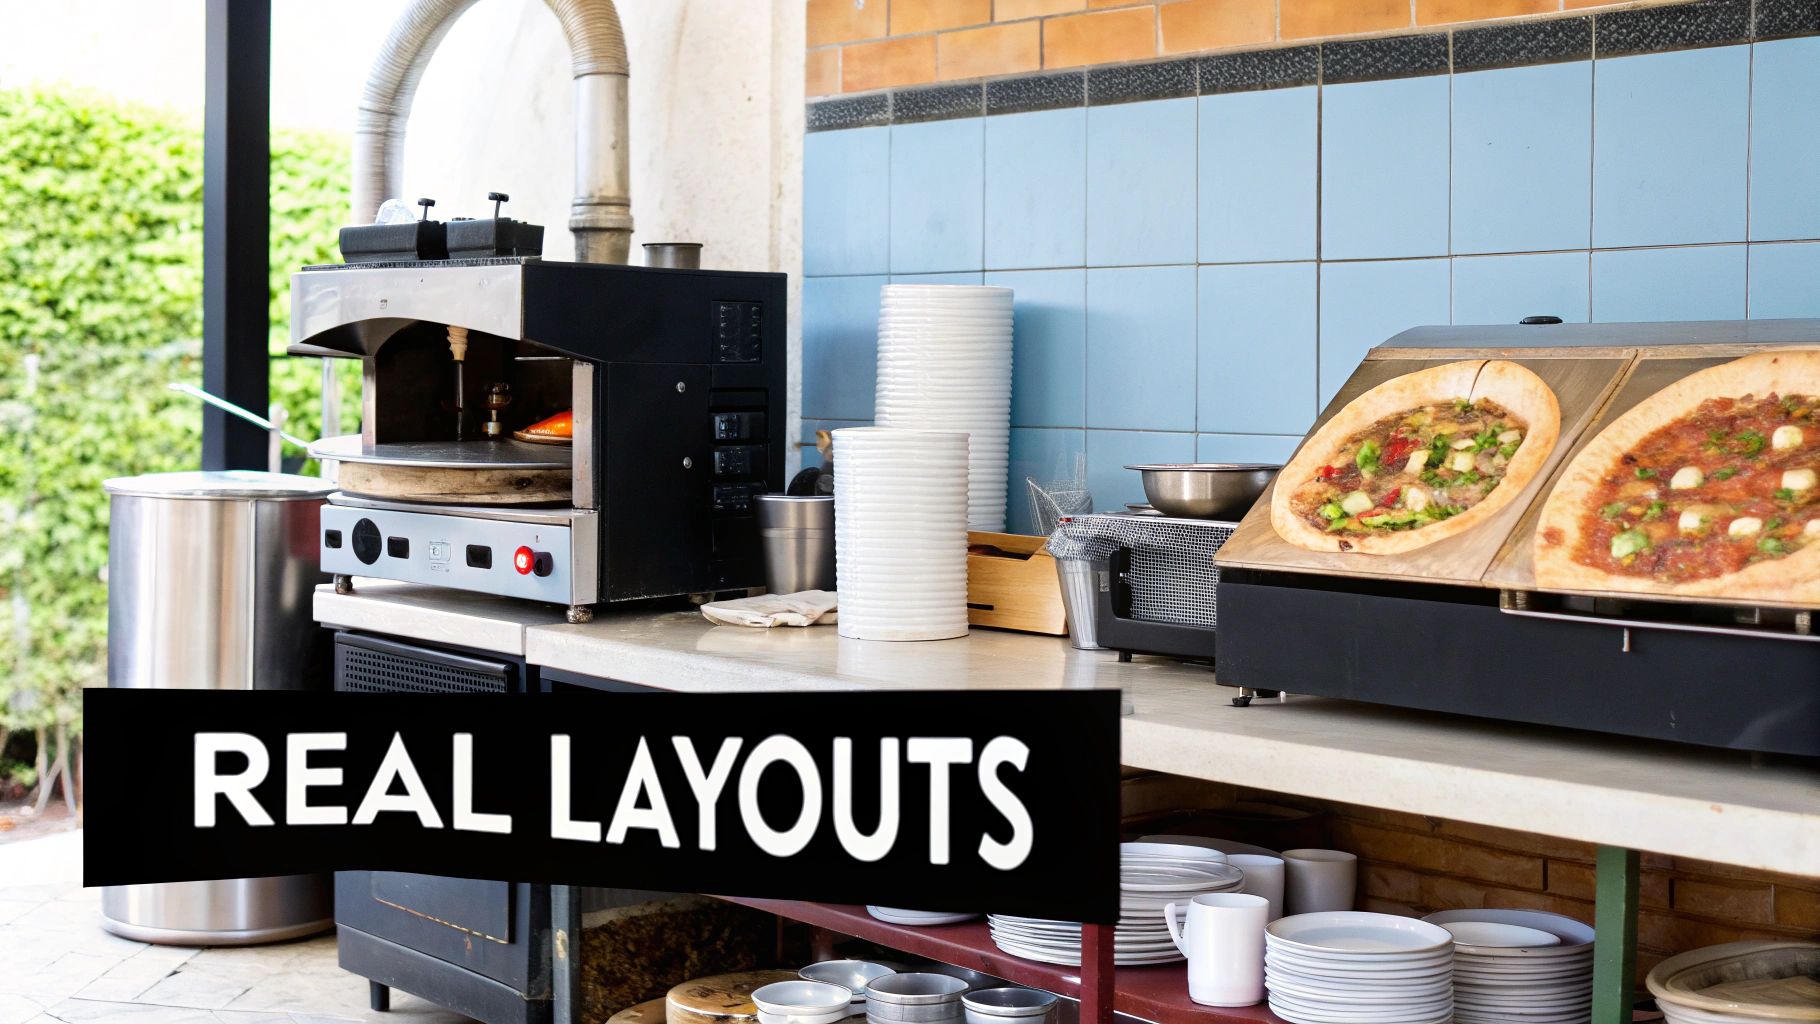
Think of these less as rigid floor plans and more as operational blueprints. They’re all designed to boost speed, cut down on chaos, and make sure your key equipment from Seattle Restaurant Equipment is working at its best.
The High-Volume Pizzeria Layout
A pizzeria is all about one thing: throughput. You need to get those pies made, baked, and out the door as fast as humanly possible. That means an assembly-line layout is your best friend, cutting out every wasted step between the dough and the box.
The flow here is completely linear. It kicks off with a large commercial refrigerator to hold dough, cheese, and all your bulk toppings. Right next to that is the heart of the operation: a wide pizza prep table. This piece of gear is non-negotiable, with a deep, refrigerated rail to hold pans of sauce and toppings just inches from the big workspace where you’re stretching dough.
From the prep table, the pizza slides right into the oven. Next to the oven, you’ll have a landing zone for boxing and cutting. You might even tuck an under counter refrigerator here for drinks or side salads, so your staff doesn't need to leave their station. Every single piece is there to keep the line moving forward.
The Fast-Casual Sandwich Shop Layout
In a fast-casual spot, it’s all about speed and customization. Your layout has to support a quick assembly line that’s also on display for the customer, so it needs to be efficient and look clean.
Here, the workflow perfectly mirrors the customer’s path along the counter. It starts with a reach-in or under counter refrigerator packed with proteins and prepped veggies. The main event is a long sandwich prep table with its refrigerated rail loaded up with dozens of fresh ingredients. Your team can slide a bowl or sandwich right down the line, adding items as they go without ever needing to take a step.
At the end of the line sits the hot equipment—maybe a panini press or a couple of high-capacity deep fryers for fries. A small station for plating and payment finishes the process. This kind of setup allows a tiny crew to serve a huge line of people without ever hitting a bottleneck.
The most effective layouts are designed around movement—or rather, the lack of it. When a chef can pivot instead of walk to complete a task, you're saving precious time and energy on every single order.
The Cozy Coffee Shop Layout
A coffee shop’s success often comes down to pure ergonomics and shaving a few seconds off every order. The layout is usually a tight galley or zone style, with the espresso machine as the undeniable center of the universe.
The setup has to be flawless for one barista to juggle multiple orders at once. Essential Seattle coffee shop refrigerators, like milk coolers and glass-door merchandisers for grab-and-go items, are placed within arm's reach of the espresso machine. The grinder, espresso machine, and milk steaming station create a super-tight work triangle.
Directly behind the barista, an under counter freezer can hold frozen pastries or smoothie ingredients, while a small convection oven for warming food is just a quick turn away. This compact design lets a barista pull shots, steam milk, grab a pastry, and finish an order in one smooth motion—which is absolutely critical for surviving the morning rush. Key Seattle bar equipment, like an underbar ice bin for making iced drinks, often gets worked into this small footprint, too.
Understanding Essential Codes and Safety Standards
An amazing restaurant kitchen layout design is completely worthless if it fails a health inspection. Before you lock in any floor plan, you have to build it on a solid foundation of compliance, safety, and accessibility. Think of these as more than just bureaucratic hoops to jump through—they're the non-negotiable rules protecting your staff, your customers, and your entire investment from day one.
Getting these details right from the very beginning is absolutely critical. A sink in the wrong spot or an aisle that’s just a few inches too narrow can snowball into costly fines or even forced, expensive renovations down the road. It’s always smarter to design with the rulebook in hand than to try and fix mistakes after the walls are up.
Navigating Health and Safety Regulations
Every single commercial kitchen runs under a strict set of health and safety codes from local and national authorities. These regulations aren't there to make your life difficult; they exist to prevent foodborne illness and keep your team safe in a high-pressure environment. You simply can't afford to overlook them.
Here are a few key areas that inspectors will zoom in on:
- Ventilation and Fire Suppression: Proper hood ventilation over cooking equipment like deep fryers and ranges isn't optional—it's mandatory for pulling grease, smoke, and heat out of the air. This system must be tied into an approved fire suppression system.
- Hand-Washing Stations: Health codes are incredibly specific about the number and placement of dedicated hand-washing sinks. They need to be completely separate from food prep or warewashing sinks and within easy reach of all your staff.
- Material and Surface Requirements: Any surface that touches food has to be non-porous and a breeze to clean and sanitize. This is exactly why stainless steel is the gold standard for equipment like sandwich prep tables and countertops.
Ensuring Proper Flow and Accessibility
Beyond the nitty-gritty of the health code, your layout has to allow people to move around safely and be accessible to every employee. This is where things like aisle widths and the Americans with Disabilities Act (ADA) standards come into play.
As a rule of thumb, main kitchen aisles need a minimum width of 36 to 48 inches. This gives your team enough room to move safely, even when they're carrying hot pans or pushing carts. It prevents those clumsy collisions and ensures you don't have bottlenecks during a busy service.
Think of aisle width as your kitchen’s internal highway system. If it’s too narrow, you create constant traffic jams that slow down service and increase the risk of accidents.
On top of that, ADA guidelines make sure your kitchen is a workable space for employees with disabilities. This means providing enough clearance in workstations and making sure equipment controls are within easy reach. A compliant design isn't just a legal checkbox; it helps you build an inclusive, professional, and respectful workplace. Weaving these standards into your initial restaurant kitchen layout design is the best way to avoid future headaches and build a safer, more efficient kitchen from the ground up.
Common Questions About Kitchen Design
When you're knee-deep in planning a restaurant kitchen layout design, a lot of questions pop up. Getting the right answers from the start helps you build a space that’s efficient, safe, and perfectly dialed in for your concept—and it saves you from making some very expensive mistakes down the road.
What Is The Biggest Mistake In Kitchen Design?
The single most common—and costly—mistake we see is designing for space instead of for flow. It's tempting to just see where the big pieces fit, but that approach creates instant bottlenecks and has your staff constantly bumping into each other. You have to map out your menu's journey first, from storage to prep to the line. Then, you can select equipment like commercial refrigerators and deep fryers that supports that logical sequence. When you think "flow first," every piece of equipment starts working together like a well-oiled machine.
Do I Really Need A Specialized Prep Table?
If your menu leans heavily on sandwiches, pizzas, or salads, then the answer is a definite yes. A dedicated sandwich prep table or a pizza prep table from Seattle Restaurant Equipment isn't a luxury; it's a necessity. Their refrigerated rails keep all your ingredients perfectly chilled and right at your fingertips, which completely changes the game for assembly speed compared to a standard stainless steel table. Think of this specialized equipment as a direct investment in your kitchen's efficiency and how many covers you can handle during a rush.
Ready to build a kitchen that works as hard as you do? Seattle Restaurant Equipment has you covered with everything from commercial freezers and under counter refrigerators to specialized Seattle bar equipment. Check out our full catalog and start putting together your ideal kitchen today at https://seattlerestaurantequipment.com.