

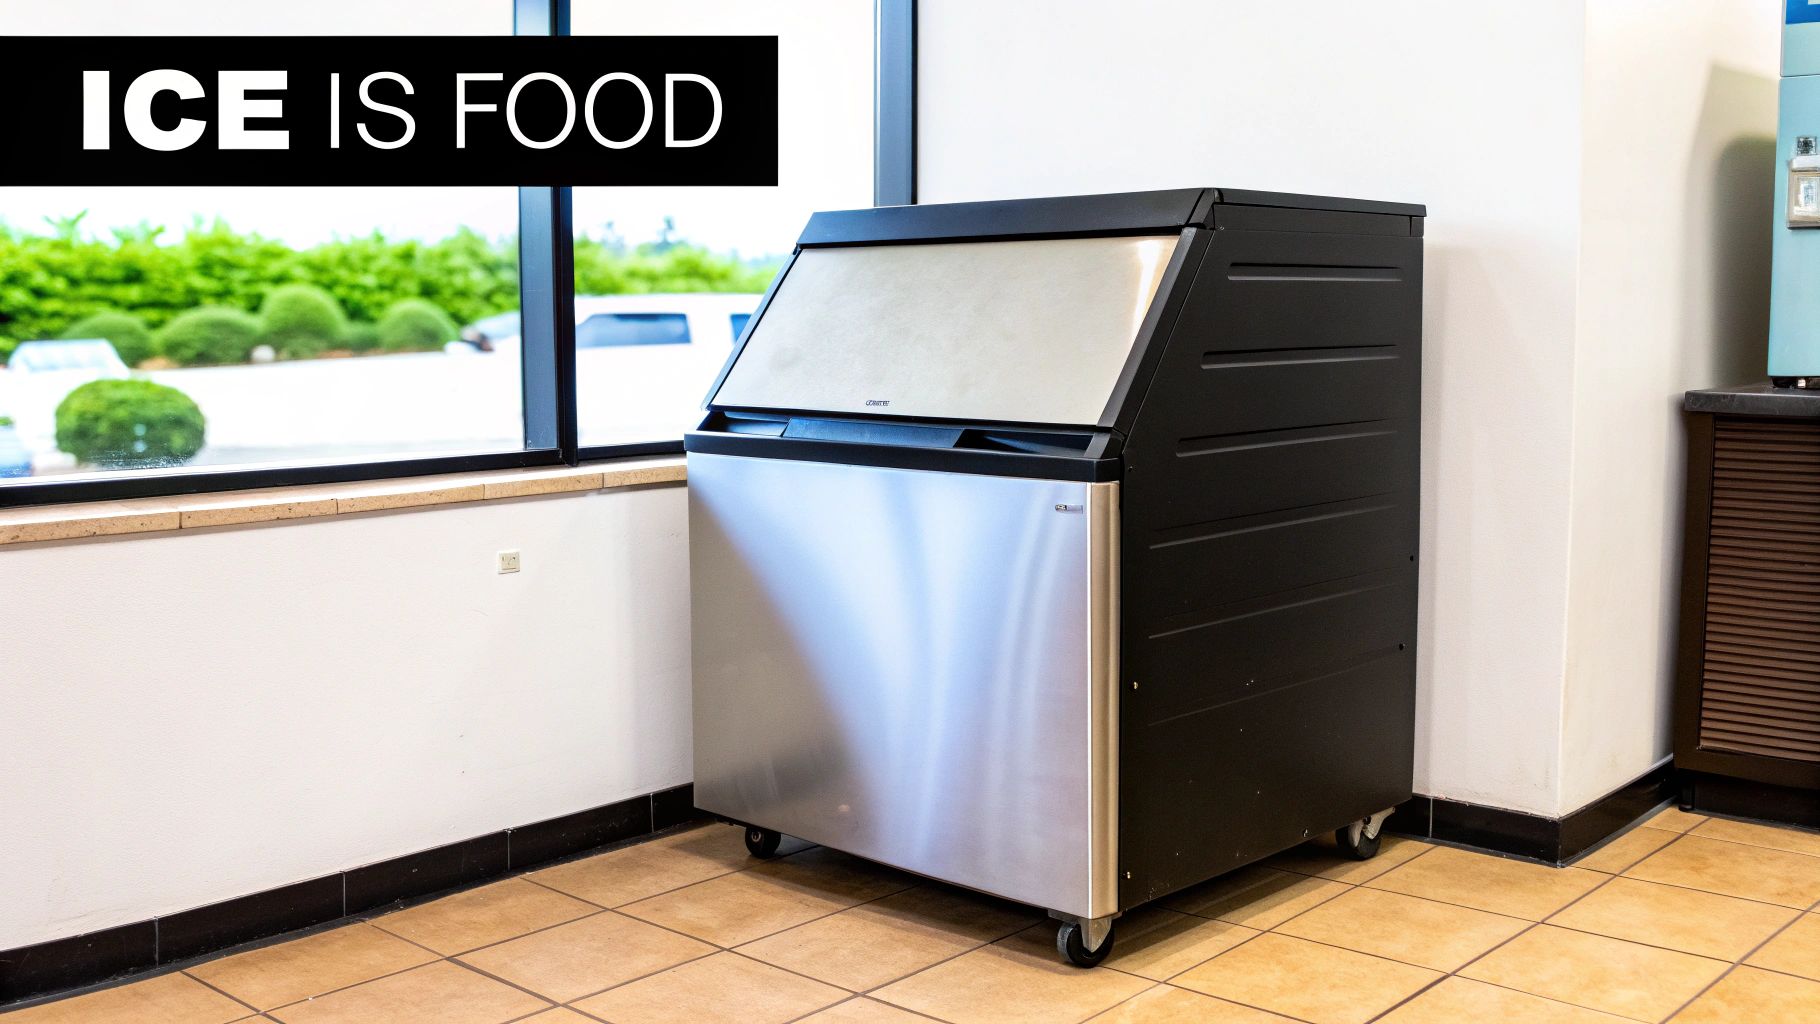
Think of an effective ice machine cleaner and sanitizer protocol as more than just a good idea—it's a fundamental food safety mandate. The FDA classifies ice as food, which means the machine that makes it must meet the same stringent hygiene standards as any other food-contact surface. Routine cleaning and sanitizing simply aren't optional.
Why Cleaning Your Ice Machine Is Non-Negotiable
It’s all too easy to overlook that humming ice machine tucked away in the back. But that piece of equipment is one of your hardest workers, churning out a key ingredient for countless drinks and dishes day in and day out. The hard truth is that neglecting it opens the door to serious risks for both your customers and your business.
A warm, damp, and dark space is the perfect storm for contamination. If left to its own devices, an ice machine can quickly become a hotbed for:
- Biofilm (Slime): A slippery, often pink or gray film that's a magnet for harmful bacteria.
- Mold and Yeast: Airborne spores just love the inside of an ice machine, leading to unsightly black or green buildup.
- Scale: Hard mineral deposits from your water supply that can clog up components and tank your machine's efficiency.
These contaminants don't just hang out inside the machine—they hitch a ride on every cube of ice you serve. This creates a direct pipeline for foodborne illness and can lead to failed health inspections, steep fines, or even a forced shutdown of your Seattle establishment.
More Than Just a Health Hazard
Beyond the obvious customer safety issues, a dirty ice machine is a real threat to your equipment investment. Scale buildup makes the machine work much harder than it should, driving up energy consumption and causing premature wear on critical parts. It's the same problem we see in other kitchen workhorses, from commercial freezers to under counter refrigerators, where spotty maintenance leads directly to higher utility bills. You can dig deeper into this topic with our insights on energy-efficient commercial refrigeration.
The industry is definitely taking notice. The market for advanced ice machine sanitizing systems is expected to shoot past USD 3.12 billion by 2031. This isn't just a random trend; it's a direct response to high-profile contamination incidents that have hit major chains, pushing businesses to find more reliable hygiene solutions. As food safety experts constantly remind us, ice is a food product, and it demands rigorous sanitation to prevent a health crisis.
For any Seattle foodservice business—whether you're a coffee shop using a Seattle coffee shop refrigerator and under counter freezers or a busy restaurant juggling deep fryers and pizza prep tables—a pristine ice machine is a cornerstone of operational excellence and public trust.
Getting Your Cleaning and Safety Gear in Order
Before you even think about tackling the inside of your ice machine, you need to get your toolkit ready. This isn't a simple sponge-and-bucket job. Using the right products and protective gear is crucial for a safe, effective clean that won't damage your expensive equipment. Think of it like setting up your prep station—having everything you need on hand makes all the difference.
The two most important items on your shopping list are an ice machine cleaner and an ice machine sanitizer. They are absolutely not the same thing, so don't try to substitute one for the other.
The cleaner, which you'll often see called a descaler, is an acidic solution. Its whole job is to break down and dissolve all that crusty mineral buildup. The sanitizer comes in next to wipe out the invisible threats: harmful bacteria, slime, and mold.
Picking the Right Chemicals
When you're choosing a cleaner, your top priority is making sure it's nickel-safe. A lot of commercial ice machines have nickel-plated evaporator plates—it's what helps them make ice so efficiently. If you use a generic, overly harsh descaler, you can literally eat away at that plating. That leads to costly repairs and, even worse, the risk of metal flakes ending up in your ice. Always, always grab a cleaner that specifically says "nickel-safe" on the label.
For the sanitizer, you need something that is food-grade, approved by the EPA, and made for surfaces that touch food. Quaternary ammonium sanitizers, or "quats," are a common and solid choice. Whatever you do, never use bleach. It can wreak havoc on your machine's parts and leave behind a dangerous residue you don't want anywhere near your ice.
Here's the easiest way to remember it: the cleaner gets rid of the scale you can see, while the sanitizer kills the dangers you can't. If you skip one, you're leaving your machine—and your customers—at risk. This two-step process is the gold standard for all foodservice equipment, from your sandwich prep tables to the ice maker itself.
Finally, let's talk about keeping yourself safe. These chemicals are no joke. Make sure you have:
- Chemical-resistant gloves to keep the cleaner off your skin.
- Safety goggles or glasses to protect your eyes from any splashes.
- Soft-bristle brushes and non-abrasive cloths for scrubbing away grime without scratching any surfaces.
Having all this ready to go will make the whole process a lot smoother and, most importantly, safer.
Taking on the Deep Clean and Descale
Alright, you've got your gear ready. Now for the most important part of the job: the deep clean. This is where you get hands-on to tackle the scale and grime that a simple automated cycle can't touch. The whole point is to get your machine's guts back to a like-new condition, which is crucial for both food safety and keeping the unit running efficiently.
First things first: safety. Before you even think about opening it up, kill the power to the machine and unplug it from the outlet. You'll also want to find the main water line feeding the unit and shut it off. This simple step prevents any nasty surprises, like the machine kicking on or water spraying everywhere while your hands are inside.
Next, get all the old ice out of the bin. Don't even consider saving it. That ice is contaminated, plain and simple—toss it. Once the bin is completely empty, you can start taking out the removable internal parts.
Breaking Down the Machine for Cleaning
Every ice machine is a little different, so your owner's manual is always your best friend for model-specific instructions. That said, most commercial units—whether it's a small under-counter machine in a Seattle coffee shop or a big modular head unit in a busy restaurant—have similar components that need to come out for a proper scrub.
You'll typically be removing:
- The Water Curtain or Baffle: This is usually a simple plastic or metal plate that guides the water. Most of the time, it just lifts or slides right out.
- The Ice Thickness Probe: This little sensor tells the machine when the ice is ready. It's delicate, so handle it with care.
- The Water Distribution Tube: Look for a tube with small holes that trickles water over the evaporator plate. This part is notorious for getting clogged with scale.
- The Water Pump and Trough: The pump is what moves water from the trough (or sump) up to that distribution tube.
As you take each piece out, lay them all on a clean towel or mat. This is a great chance to inspect everything up close and see where the real problem areas are. You’ll probably spot some stubborn mineral deposits and maybe even some pink or black slime—biofilm—in the nooks and crannies. This is exactly the gunk an ice machine cleaner and sanitizer protocol is designed to destroy.
This simple visual breaks down the two-stage process and the gear you need for each.
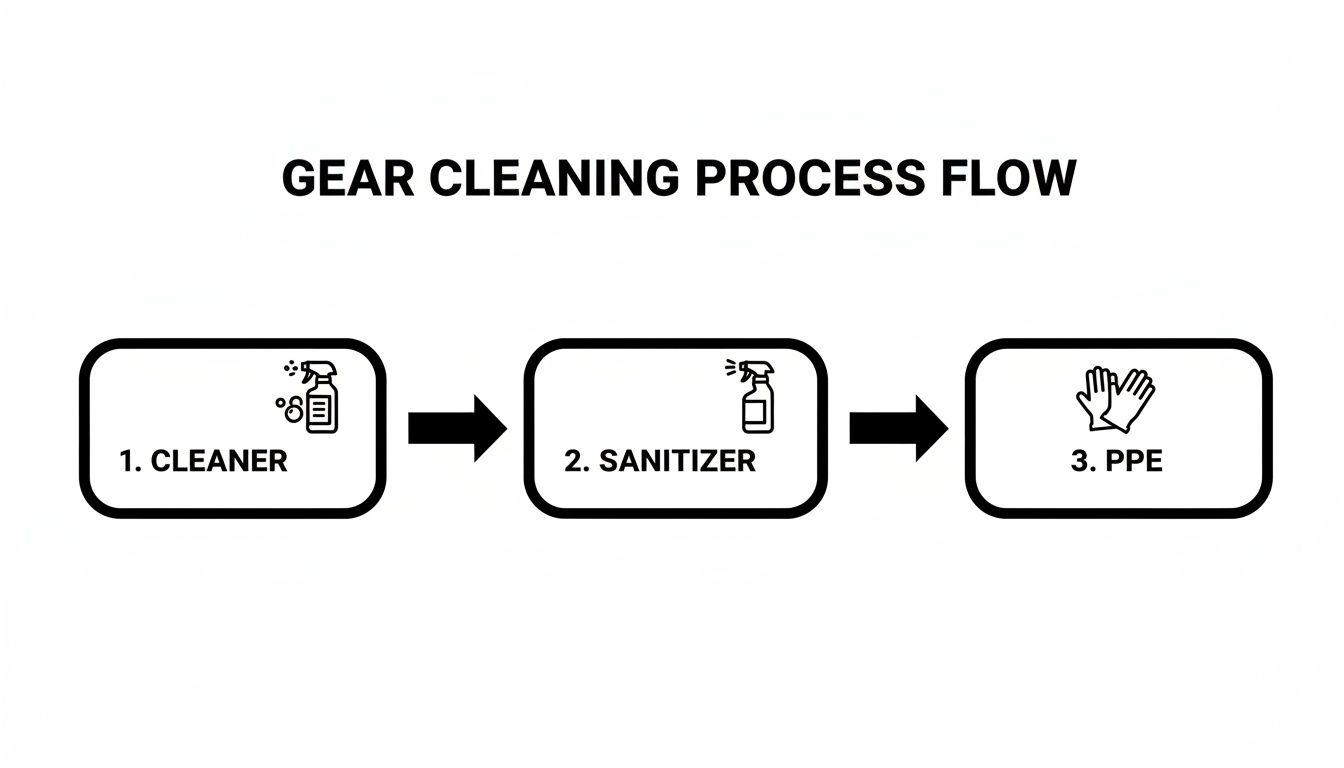
As the graphic shows, proper PPE is non-negotiable when you're working with both the descaling cleaner and the sanitizer.
Running the Cleaning Cycle
With the main components removed for hand-washing, it’s time to let the machine help with the rest. Plug the machine back in, power it up, and switch the control to the 'Clean' or 'Wash' setting. This kicks on the water circulation pump without starting the refrigeration.
Pro Tip: Don't just dump the cleaner in and walk away. While the machine runs its cycle, take those parts you removed and scrub them in a separate sink with a solution of the descaling cleaner. A soft-bristle brush is perfect for this. This hands-on scrubbing is what really breaks loose the grime the automated cycle can't reach.
Now, carefully follow the directions on your cleaner bottle and pour the correct amount of nickel-safe ice machine cleaner into the water reservoir. The machine will start pumping that acidic solution through all its internal plumbing, dissolving the mineral scale off the evaporator plate and other tough spots. Let that cycle run completely, which usually takes about 20-30 minutes.
Once the cycle finishes, power the machine down again and make sure the cleaning solution is fully drained. Now grab your brushes and cloths and give the entire interior a thorough scrubbing—the bin walls, the base, and any other fixed parts. The final step here is to rinse every single surface with fresh, clean water. You need to get every last trace of that descaler out before you even think about moving on to the sanitizing step.
Applying Sanitizer For Total Food Safety
Now that you've descaled the machine, it's finally free of all that mineral gunk. But we're not done yet. In fact, the most important food safety step is next. Cleaning gets rid of the visible scale, but sanitizing is what kills the invisible threats that health inspectors are trained to find—things like bacteria, mold, and nasty biofilm.
This is the part of the job that truly protects your customers from getting sick. You can't skip it. An ice machine sanitizer is specifically designed to wipe out microorganisms on every surface that water and ice touch. For any Seattle business, serving safe ice is non-negotiable.
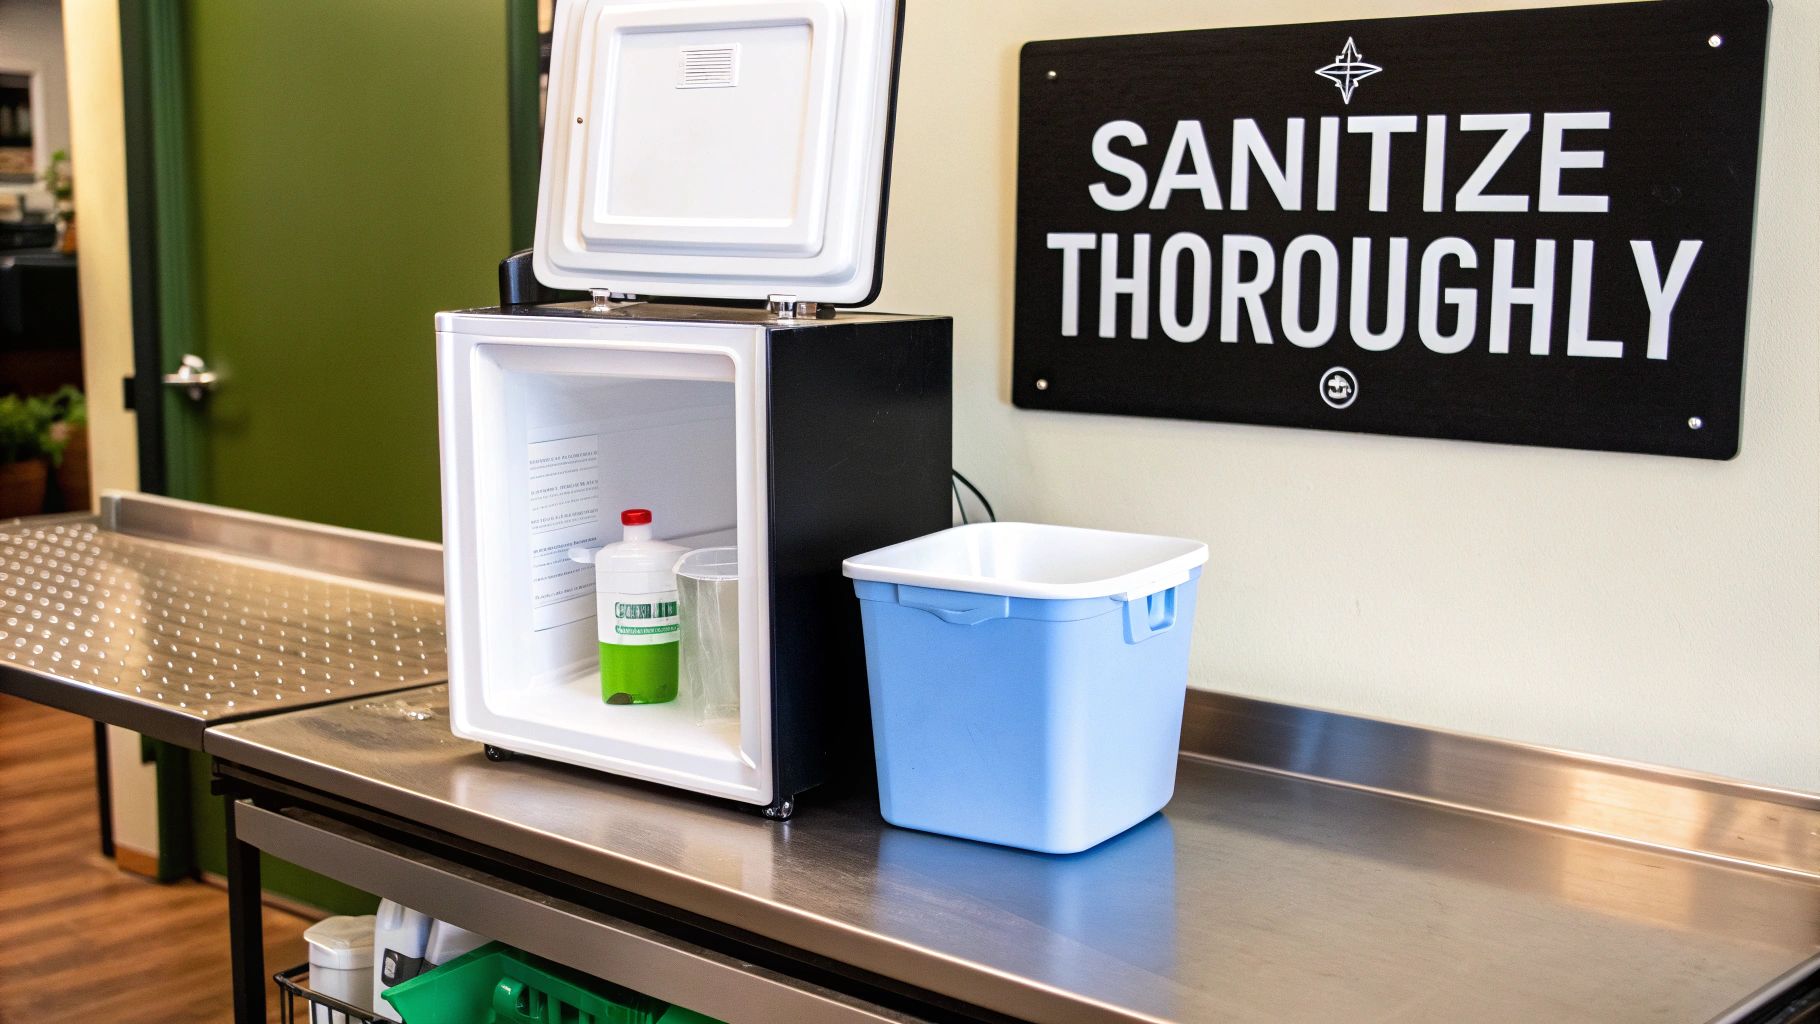
Preparing the Sanitizer Solution
First thing's first: grab an EPA-approved, food-grade sanitizer made specifically for ice machines. Your owner’s manual should point you in the right direction. This is no time to guess or grab a general-purpose cleaner off the shelf.
Mixing the solution the right way is absolutely critical for it to work.
- Always mix a fresh batch right before you use it. Sanitizers can lose their punch over time if they sit around.
- Follow the manufacturer’s instructions on the label to the letter for the dilution ratio. If it's too weak, it won't kill anything. Too strong, and you risk leaving behind chemical residue or even damaging your machine's parts.
- Use a dedicated, clearly labeled bucket and spray bottle just for your sanitizer. This simple step prevents any dangerous cross-contamination with other chemicals.
Before we move on, let's clear up a common point of confusion. Many operators think cleaning and sanitizing are the same thing, but they are two distinct, mandatory steps.
Cleaning vs Sanitizing Key Differences
| Aspect | Cleaning (Descaling) | Sanitizing |
|---|---|---|
| Purpose | Removes visible dirt, mineral scale, and food particles. | Kills invisible microorganisms like bacteria, viruses, and mold. |
| Chemicals Used | Acid-based descalers or nickel-safe cleaners. | EPA-registered sanitizers (e.g., quaternary ammonium, chlorine). |
| Process | Physically scrubbing or circulating cleaner to lift away buildup. | Applying a chemical solution for a specific contact time to eliminate pathogens. |
| When to Do It | First. You have to remove the grime before you can kill the germs. | Second. Sanitizer can't work properly on a dirty surface. |
In short, cleaning removes the hiding spots for germs, and sanitizing gets rid of the germs themselves. You have to do both, in that order, for a truly safe machine.
Circulating the Sanitizer Effectively
With your solution ready, it's time to sanitize all those surfaces you just cleaned. Power the machine back on and set it to the 'Clean' or 'Wash' cycle again. Just like you did with the cleaner, pour the correct amount of sanitizer into the water reservoir.
The machine will do the heavy lifting, circulating the sanitizer through the internal plumbing, over the evaporator plate, and through the water lines and pump. While that cycle is running, take the parts you removed earlier and let them soak in your sanitizer bucket.
Make sure they stay submerged for the full required contact time—that's the minimum amount of time the sanitizer has to stay wet on a surface to do its job. It's usually between 1 to 5 minutes, but always double-check the product label.
Use your spray bottle to hit every other surface. Thoroughly coat the entire inside of the bin, the door, the gaskets, and the ice chute. You want every square inch wet with the solution. This systematic approach ensures you don't miss a spot. Comprehensive food safety means keeping all your equipment clean, right down to maintaining the correct walk-in cooler temperature.
Once the cycle is done and the contact time is up, the final step is a good, thorough rinse. Unless you're using a special "no-rinse" formula, you need to flush the whole system with clean, fresh water until every trace of the chemical is gone.
Put the machine back together, turn it on, and let it make a complete batch of ice. You must throw this first batch out. This guarantees the ice you actually serve is pure, safe, and ready for your customers.
Building a Proactive Maintenance Schedule
Consistent maintenance is the secret weapon for keeping your ice machine humming along and compliant. If you just wait for problems to pop up, you're setting yourself up for equipment failure and, even worse, a failed health inspection. A proactive schedule, on the other hand, turns cleaning from a dreaded emergency into a simple, routine task that protects your investment.
This forward-thinking approach is just as crucial for your ice machine as it is for any other piece of Seattle restaurant equipment, from your commercial refrigerators to the pizza prep tables on your line. You wouldn't ignore your deep fryers until they stopped heating up, right? Your ice machine deserves that same regular attention. A set schedule means you’re always serving safe, clean ice and are ready for a surprise visit from the health inspector.
Creating Your Cleaning Cadence
Not every restaurant or bar needs the same cleaning frequency. A packed Seattle bar is going to put a lot more strain on its ice machine than a small neighborhood coffee shop. You need to base your schedule on how you actually use it.
- Daily Tasks: Give the exterior a quick wipe-down, sanitize the ice scoop, and take a peek inside the bin for any funky smells or debris. This whole process takes less than five minutes.
- Weekly Tasks: Do a more thorough cleaning of the exterior surfaces, paying attention to the door handle and gaskets. Check the air filter—if it's dusty, clean it out to keep the air flowing properly.
- Monthly Tasks: This is the perfect time for a quick internal look. Check for any early signs of slime or scale building up inside the storage bin.
- Deep Cleaning Frequency: A full-blown descaling and sanitizing cycle is a must at least every six months. But, if you're in an area with hard water or have a high-yeast environment (think pizzerias or breweries), you'll want to bump that up to every three to four months.
The Role of Automated Cleaning
Many modern ice machines are changing the game with self-cleaning cycles. This technology is a massive help, as automation can slash labor costs and improve energy and water savings by up to 30% in some newer models. We're also seeing innovations in self-cleaning systems that use chemical dosing or UV light, which have been reported to cut maintenance downtime by 50%.
But here’s the reality check: a self-cleaning feature is an assistant, not a replacement for good old-fashioned manual cleaning. Those cycles are great for circulating chemicals, but they can't physically scrub stubborn biofilm out of tight corners, off of sensors, or from under components. A hands-on deep clean is still non-negotiable.
To keep everything straight and show proof of compliance, create a simple maintenance log and keep it near the machine. Just jot down the date, the tasks you did (e.g., "Full Descale & Sanitize"), and the initials of the employee who handled it. That way, when a health inspector asks about your cleaning protocol, you have clear, documented proof of your hard work.
Your Top Ice Machine Care Questions, Answered
Even with the best plan, you're going to have questions. When you're dealing with an ice machine cleaner and sanitizer, you need clear, straightforward answers to keep your equipment running smoothly. Here’s what we hear most often from fellow Seattle restaurant and bar owners.
How Often Should I Really Be Cleaning My Commercial Ice Machine?
The standard rule of thumb is a complete, deep clean and sanitization at least every six months. But let’s be honest, that's just a starting point.
Here in Seattle, many of us deal with hard water. Or maybe your kitchen is a high-yeast environment because you're baking fresh bread or brewing beer. If that sounds familiar, or if your machine is just working overtime every single day, you need to bump that schedule up to every three months.
Don't just rely on your calendar, though. Your machine will tell you when it needs help. If you see any slime or mold, or notice the ice production has slowed to a crawl, it's time for an immediate cleaning. A quick weekly check can save you from a major headache later on.
Can't I Just Use Bleach or Vinegar?
Please, don't do this. It’s one of the biggest—and most expensive—mistakes we see operators make.
Bleach is incredibly corrosive. It will eat away at the nickel plating and other metal parts inside your machine, causing permanent damage. This leads to costly repairs and, worse, potential contamination of the ice you serve your customers.
Vinegar, on the other hand, just isn't strong enough. It won't cut through the stubborn slime and biofilm that love to grow in the damp, dark corners of a commercial ice machine. Plus, nobody wants ice that tastes and smells like a salad. Always, always stick with a manufacturer-approved, NSF-certified ice machine cleaner and sanitizer. It's the only way to protect both your customers and your investment.
What Are the Telltale Signs an Ice Machine Needs Cleaning?
Your machine will give you some pretty obvious hints when it's time for a scrub down. Be on the lookout for these signs:
- Bad Ice: Are the cubes coming out small, cloudy, or hollow? Do they look more like weird little snowballs than perfect, solid cubes? That's a classic sign of scale buildup on the evaporator plate.
- Weird Smells: If you open the bin and get a whiff of anything musty or mildew-like, you've got a problem. That smell is a direct indicator of mold or slime growth that needs to be taken care of immediately.
- Visible Gunk: Take a look inside. If you see any pink, gray, or black residue—no matter how small—it's time to shut it down and get cleaning.
My Machine Has a "Self-Cleaning" Button. Am I Off the Hook?
Not quite. While those automated cleaning cycles are a great feature, they don't replace a good old-fashioned manual cleaning. Think of it as a helpful maintenance tool, not a get-out-of-jail-free card.
These cycles are designed to circulate chemicals through the system, which is great for maintenance. But they can’t physically scrub away stubborn biofilm that gets stuck in tight corners, on sensors, or in other hard-to-reach spots.
A truly clean machine is one that benefits from both. Run the automated cycles as recommended, but make sure you’re still getting in there for a thorough, hands-on deep clean regularly. That's the only way to ensure every single component is spotless and safe.
At Seattle Restaurant Equipment, we know that your equipment is the heart of your operation. From commercial refrigerators and freezers to sandwich prep tables and essential Seattle bar equipment, we have the quality tools you need to thrive. Check out our full lineup of dependable, affordable kitchen solutions today.