

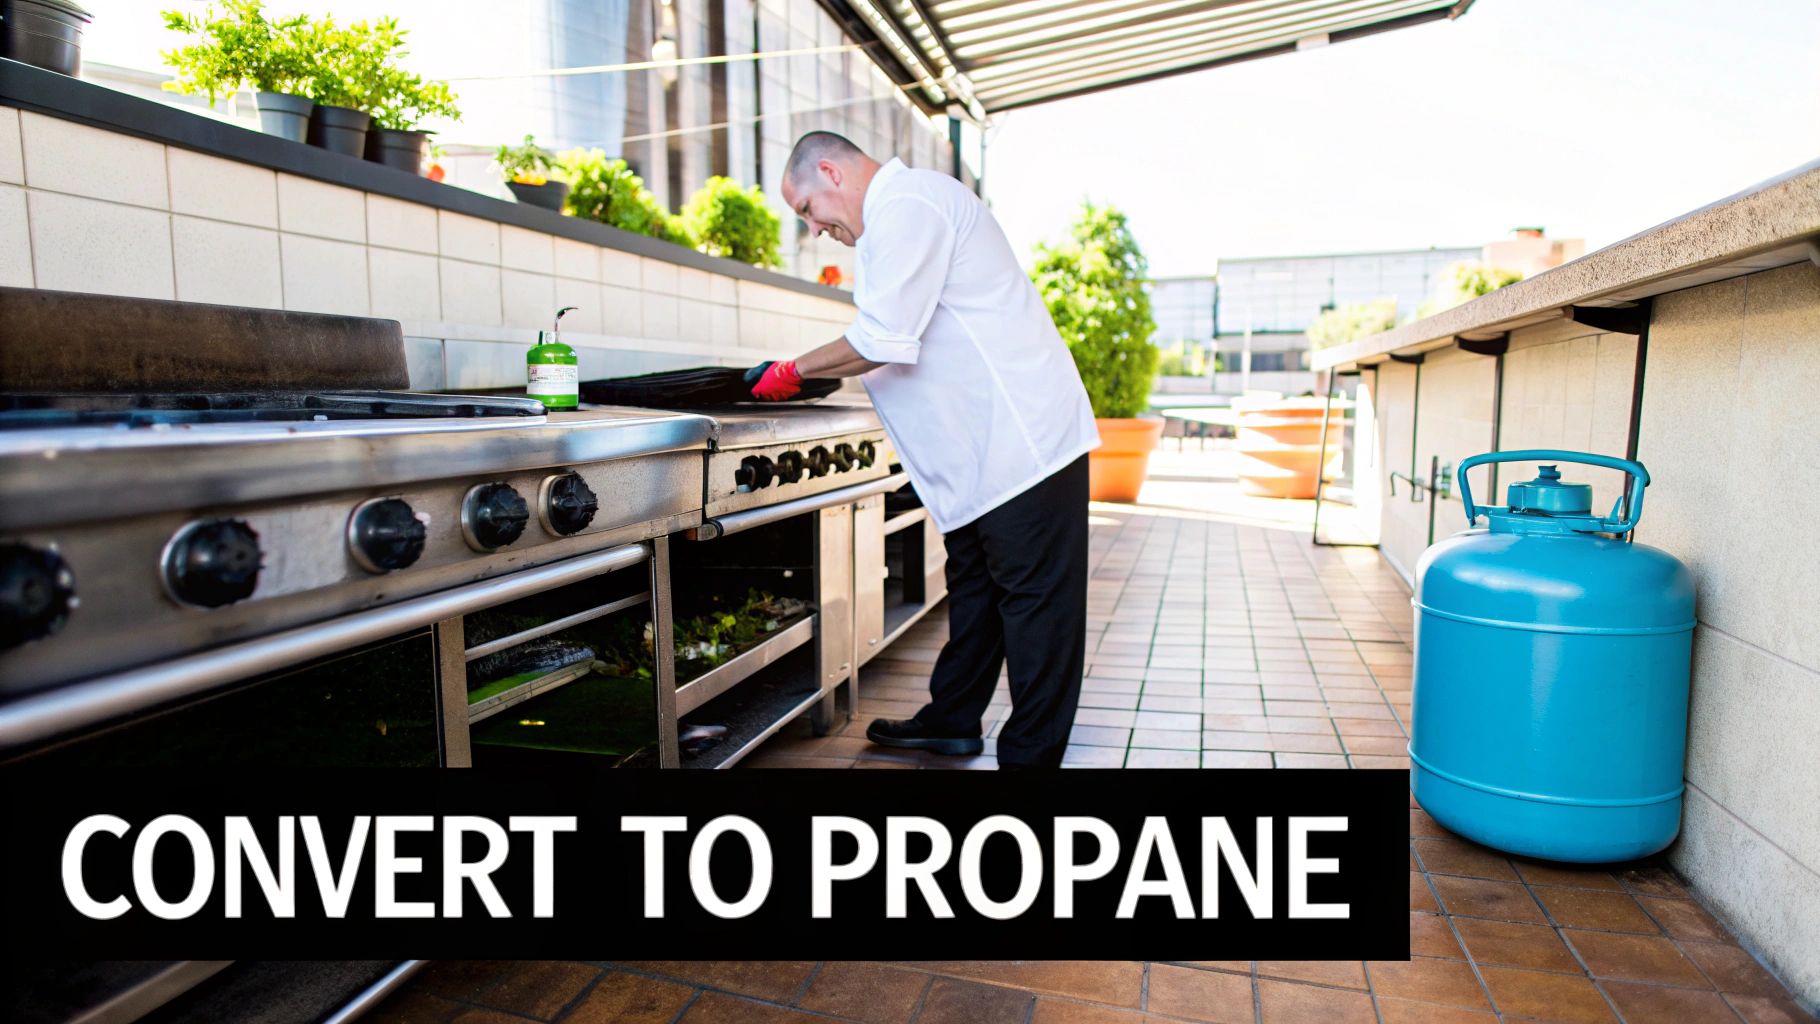
If you're running a kitchen where natural gas lines just aren't an option, converting your commercial range to propane isn't just a good idea—it's essential. This is a precise job that involves swapping out key parts like burner orifices and the gas regulator to safely handle propane's higher pressure and energy. Getting it right means your six-burner range, deep fryer, or griddle will run efficiently and, most importantly, safely.
Why Convert Your Commercial Range from Natural Gas to Propane
For many Seattle restaurant operators, the switch from natural gas to propane isn't a choice; it's a necessity. Think about launching a new food truck to serve the crowds at Pike Place Market, or opening a cozy bistro in a classic Bainbridge Island building that was never hooked up to the city's gas lines. In these very common scenarios, propane becomes the lifeblood of your kitchen.
And it's not just about your main range. This need for fuel flexibility touches almost everything in your cook line. From the deep fryers keeping the fries crispy to the powerful burners on a pizza prep table, most modern kitchen equipment is designed to be converted right in the field. This adaptability is a massive plus for Washington’s ever-changing foodservice scene, where kitchens can be mobile, temporary, or simply off the beaten path.
Understanding the Fuel Differences
At a glance, natural gas and propane might seem like cousins, but they have critical differences that make a direct swap both impossible and dangerous. The real issue comes down to energy content and delivery pressure. It’s like putting diesel in a gasoline engine—it’s calibrated for a specific fuel, and using the wrong one spells disaster.
Before diving into the "how," let's quickly look at the "why." This table breaks down the technical reasons a conversion is so critical.
| Characteristic | Natural Gas | Propane (LP Gas) |
|---|---|---|
| Energy Content (BTU) | ~1,030 BTU per cubic foot | ~2,516 BTU per cubic foot |
| Delivery Pressure | 3-4 inches Water Column (W.C.) | 10-11 inches Water Column (W.C.) |
| Relative Density | Lighter than air | Heavier than air |
| Orifice Size Needed | Larger hole | Smaller hole |
As you can see, propane is a much hotter, higher-pressure fuel. It packs more than double the punch in the same amount of space. This is why a simple hookup will absolutely not work.
Propane is way more energy-dense. A single cubic foot of propane gives you 2,516 BTUs, which is more than double the 1,030 BTUs you get from the same amount of natural gas. Then there's the pressure difference. Natural gas is delivered at a gentle 3-4 inches water column (W.C.), while propane comes in at a much higher 10-11 inches W.C. This demands much smaller orifices on your burners to keep the flames under control.
For a restaurant operator, this means that simply hooking up a propane tank to a natural gas appliance would create dangerously large, uncontrollable flames, producing excessive soot and potentially hazardous levels of carbon monoxide.
Why a Conversion Is Non-Negotiable
The entire conversion process is about managing propane's extra energy and pressure safely. It involves replacing the small brass fittings—the orifices—at each burner with new ones that have much tinier holes. This one change restricts the fuel flow, compensating for the higher pressure and giving you the stable, efficient blue flame the manufacturer designed the equipment for.
This rule applies to every piece of gas equipment you own. Whether you're setting up a whole new cook line with a range and griddle or just adding a charbroiler, the conversion has to be done right.
For restaurateurs looking to manage start-up costs, considering properly refurbished equipment can be a smart move. You can learn more by exploring our guide on used commercial kitchen equipment. Just make sure the conversion is handled correctly so your kitchen, from the main range to your Seattle bar equipment, operates safely and reliably from day one.
Sourcing the Right Conversion Kit and Tools for the Job
Any successful project starts long before you pick up a wrench. When it comes to converting a natural gas range to propane, getting your parts and tools lined up first is the difference between a smooth job and a frustrating, hazardous mess. Trust me, this isn't a task where "close enough" is an option.
The single most important part is the conversion kit itself. This is absolutely not the place to grab a generic, one-size-fits-all kit from a big-box store. For the safety of your kitchen, the performance of your range, and to keep your manufacturer's warranty valid, you must use the Original Equipment Manufacturer (OEM) kit made for your exact range model.
Using a non-OEM kit is a huge gamble. Those tiny brass fittings—the orifices—are drilled with incredible precision to match the specific BTU rating of each burner. A generic part can lead to dangerously high flames or, even worse, incomplete combustion that pumps out deadly carbon monoxide.
Locating Your Model Number
Before you can even think about ordering that kit, you need your range's model and serial number. This info is usually on a small metal data plate or sticker.
Here are the usual hiding spots:
- Inside the oven door frame.
- On the side or back of the bottom storage drawer.
- On the back of the range, often near where the gas line connects.
Once you find it, just snap a quick photo with your phone. It’s a simple step that takes all the guesswork out of ordering and guarantees you get the right kit, whether you're working on your main range or a commercial deep fryer.
Essential Tools for the Conversion
With the correct kit on its way, you can start gathering your tools. You probably have a lot of this stuff already, but a few items are non-negotiable for doing this job without damaging the soft brass components of your appliance.
A rookie mistake I see all the time is using adjustable pliers on gas fittings. The brass is soft and rounds off easily, turning a simple job into a nightmare. Always use the right size open-end wrench or nut driver.
Here’s a quick checklist of what you'll want to have ready:
- Nut Driver Set: A 1/4-inch and 9/32-inch nut driver (or sockets in these sizes) will be your best friend for swapping out cooktop orifices.
- Open-End Wrenches: You'll need a 1/2-inch and 5/8-inch wrench for the gas pressure regulator and the oven's bell orifice.
- Gas-Rated Pipe Thread Sealant: Make sure you get the yellow Teflon tape or pipe dope that’s specifically rated for propane and natural gas. The standard white plumber's tape won't cut it.
- Screwdrivers: A basic Phillips and a small flat-head are needed for removing panels and fine-tuning the low-flame settings.
- Reliable Gas Hose: You have to use a connector rated for propane. You can find the right commercial-grade gas hose here to ensure a safe, code-compliant connection.
- Combustible Gas Leak Detector: Soapy water is the old-school method, but an electronic "sniffer" gives you an extra layer of confidence. It can pick up on tiny leaks you might otherwise miss.
Having all your tools and parts laid out before you start makes all the difference. The process becomes methodical and clean, not a frantic scramble for the right socket. This is the kind of prep that’s crucial for any gas work in a busy Seattle kitchen.
Getting Your Hands Dirty: The Commercial Range Conversion Process
Alright, let's get down to the nuts and bolts of the conversion. This is where the real work begins, but don't get intimidated. The key is to see this not as one giant, complicated job, but as a series of smaller, manageable tasks. You'll tackle each one carefully and correctly before moving on to the next.
Before you even touch a wrench, you need to get your parts and tools in order. This graphic breaks down the prep work—getting the right kit, the right tools, and the right safety gear lined up.
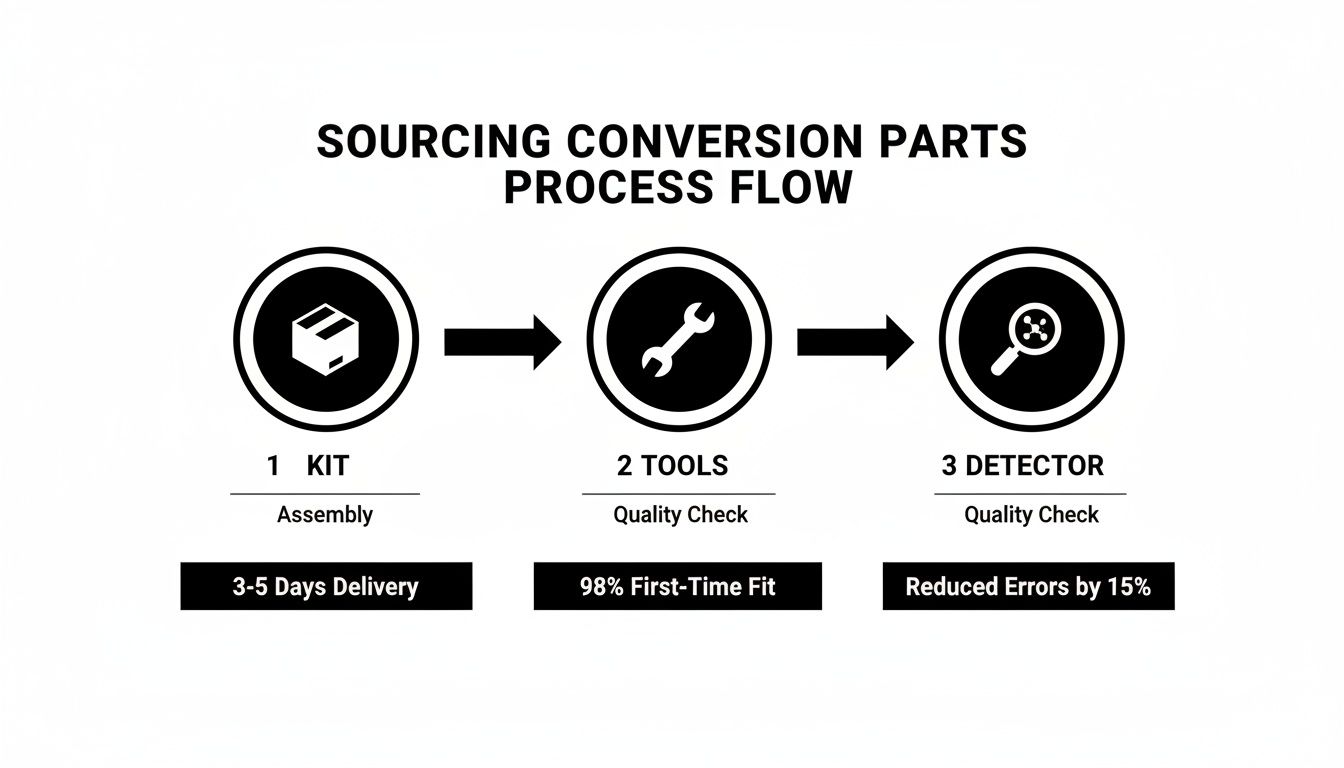
As you can see, a smooth conversion starts long before you disconnect anything. It's about having the manufacturer-approved kit, your wrenches, and a reliable gas detector all within arm's reach.
First Things First: Creating a Safe Work Zone
Let's be crystal clear: safety is everything. Before a single tool comes out, shut off the gas. Find that main shut-off valve behind your range and turn it completely off. Just as important, unplug the range from the wall. You want zero chance of an electrical spark.
Ventilation is your next best friend. Crack open some windows and doors to get fresh air moving through the kitchen. This is a non-negotiable step, whether you're in a sprawling Seattle restaurant kitchen or a tight coffee shop space.
Swapping Out the Cooktop Orifices
With the range safely powered down and disconnected, it's time for the first major step: replacing the cooktop orifices. These are the small brass fittings that meter the gas flowing to each burner. You'll need to pull off the heavy grates, burner caps, and then the burner heads themselves to get to them.
Grab a nut driver—usually a 9/32-inch will do the trick—and carefully unscrew each natural gas orifice by turning it counter-clockwise.
Here’s a pro tip from the field: always use a magnetic parts tray. It’s a simple thing, but it will save you a world of headache when a tiny brass orifice tries to fall into the abyss of the range's interior.
With the old ones out, you're ready to install the new propane orifices from your conversion kit. Take a look at how much smaller the holes are—that's how they restrict the flow of higher-pressure propane. Gently start threading them by hand to avoid cross-threading, then give them a final snug turn with the nut driver. Don't go crazy here; snug is enough. Over-tightening can easily damage the soft brass.
Tackling the Oven and Broiler
Next up are the oven and broiler components. This part can feel a bit more involved, but it’s the same methodical process. You'll probably have to remove the oven door, racks, and the bottom panel to get a clear view of the burner assembly. A 1/4-inch nut driver is usually what you'll need for those panel screws.
Once you’re in, you'll spot the oven burner's orifice. It's often a larger, bell-shaped fitting. With a 1/2-inch open-end wrench, you'll tighten this fitting down—often, one full clockwise turn is all it takes to set it for propane. If your range has a separate broiler, just repeat the exact same process for its burner. This is another moment you'll be glad you have your parts neatly organized—maybe on a sandwich prep table or near your under counter freezers to keep them out of the main walkway.
Adjusting the Gas Pressure Regulator
The gas pressure regulator is another critical piece that needs a quick adjustment. You’ll find it where the main gas line connects to the back of the range. Look for a cap on the regulator, which you can usually remove with a 5/8-inch wrench.
Unscrew the cap, and you'll see a small pin or plunger underneath. For natural gas, it’s set to face up. To switch it to propane, you just flip the cap over so the pin now faces down into the regulator body and screw it back on. That simple flip changes the internal spring tension, setting the regulator to properly handle propane’s higher pressure.
Dialing in the Air Shutters for a Perfect Flame
The final adjustment is all about the flame itself. You need to set the air shutters on both the cooktop and oven burners. These adjustable collars control the air-to-gas mixture, and getting it right is what produces that clean, efficient blue flame.
For the cooktop burners, you might need to loosen a tiny screw on the burner tube, allowing you to rotate the shutter to open or close it slightly. On the oven burner, the shutter is usually right at the front of the tube. Loosen its screw and adjust as needed.
You're aiming for a steady, mostly blue flame with just a hint of a yellow tip. Getting this right ensures you have complete combustion, which is crucial for both cooking performance and safety in any Seattle kitchen, from a high-volume spot to a small cafe.
Alright, you’ve wrestled with the orifices, tweaked the regulator, and tightened down that last fitting. Now comes the single most important part of the job. This isn't the moment to get hasty and start firing up burners. This is where you double- and triple-check your work to make sure everything is sealed, safe, and ready for the daily grind of a commercial kitchen.
Don't think these steps are just for your main range, either. Every single piece of gas equipment in your place needs this level of attention. That six-burner monster that’s the heart of your line, the little countertop fryer, even the griddle in your food truck—the process for checking leaks and flames is exactly the same. The care you take with your big-ticket items is just as crucial for your smaller Seattle bar equipment.
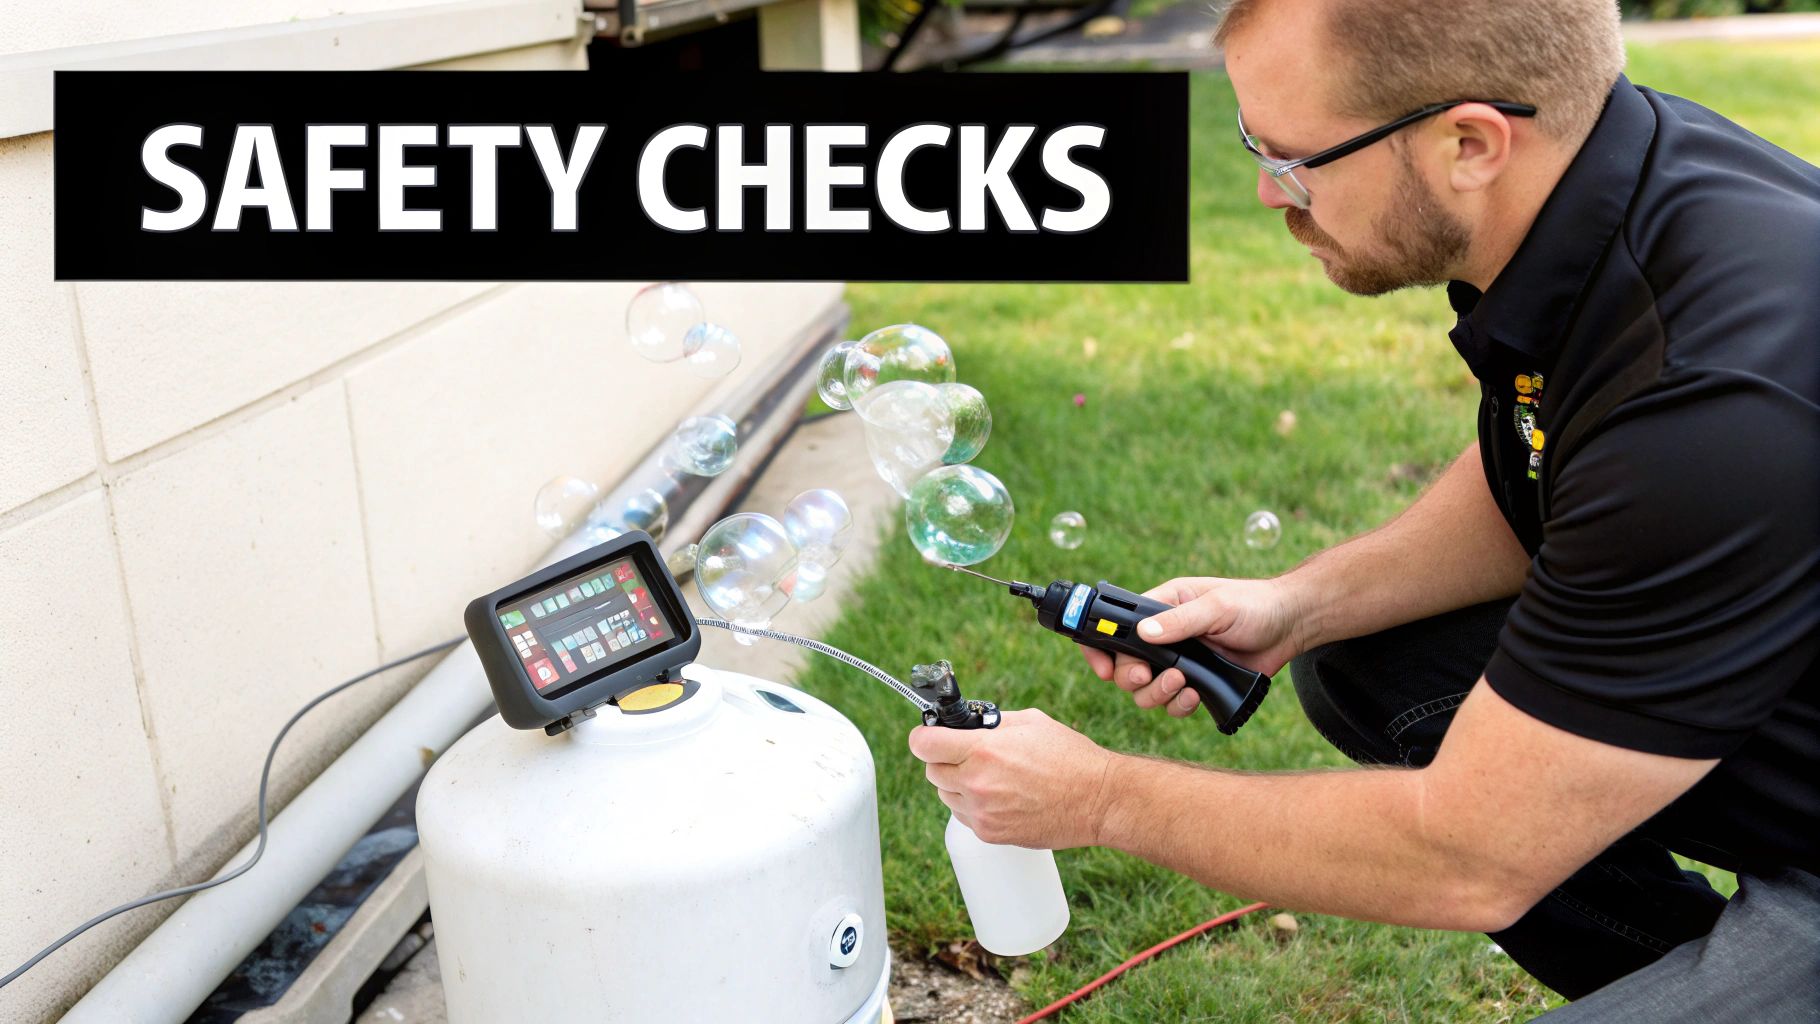
Hunting for Leaks
First things first: you’ve got to hunt for any potential gas leaks. Even a pinhole-sized leak at a fitting you didn't quite get tight enough can create a serious hazard. We always use a two-step method to be absolutely certain the system is locked down tight.
Your first line of defense is the old-school soap bubble test. It’s simple but incredibly effective. Just mix up some dish soap and water in a spray bottle—a 50/50 ratio is perfect. Crack open the valve on your main propane tank and then spray down every single connection point you touched.
Make sure to hit these spots:
- The main hose connection going into the range.
- Both the inlet and outlet sides of the gas regulator you worked on.
- The base of every burner on the cooktop where you threaded in the new orifices.
- Any connections for the oven or broiler burners.
Now, watch closely. If you see any bubbles starting to form, even tiny ones, shut the gas off immediately. That’s a leak. Usually, another quarter-turn with a wrench is all it takes to seal it up. Turn the gas back on and test it again. Don’t move on until you see zero bubbles.
Bringing in the "Sniffer" for Backup
For total peace of mind, we follow up the bubble test with an electronic combustible gas detector, or what we call a "sniffer." These tools are way more sensitive than your nose and can pick up tiny amounts of propane that the soap test might miss.
Slowly run the tip of the sniffer around the same connection points you just bubble-tested. If it detects any propane, it’ll let you know with a loud, audible alarm. This is standard procedure for any pro gas tech and a smart piece of gear for any restaurant to have on hand, especially if you’re running multiple appliances like deep fryers and ranges.
It’s a huge mistake to just rely on smelling the ethyl mercaptan odorant they add to propane. In a busy kitchen filled with other aromas, your nose gets desensitized fast. An electronic detector doesn’t lie and is a critical tool for keeping your staff and your business safe.
Getting That Perfect Blue Flame
Once you’re 100% sure there are no leaks, it’s time to dial in the flame. A perfect flame isn’t just about safety; it’s about efficiency and performance. Light each burner one by one and watch how it behaves on both high and low settings.
You’re looking for a steady, quiet, mostly blue flame. A tiny little yellow or orange tip is perfectly fine. This tells you the air-to-gas ratio is just right and you're getting complete, efficient combustion.
On the other hand, here’s what you don't want to see:
- A lazy, yellow, sooty flame: This means the mix is too rich with fuel and isn't getting enough air. It's a waste of propane and a producer of carbon monoxide. You’ll need to open the air shutter for that burner just a bit to let more air in.
- A noisy flame that’s lifting off the burner: This is a "lean" mixture with too much air. The flame might even blow out easily. To fix this, you’ll need to close the air shutter slightly.
Nailing these fine adjustments ensures your range cooks evenly, heats efficiently, and operates safely. This final bit of calibration is what truly finishes the conversion, turning your equipment into a reliable workhorse for your Seattle kitchen.
Navigating Seattle Codes and Knowing When to Call a Pro
It can feel empowering to tackle a project like converting a natural gas range to propane yourself. But let’s be clear: working with gas lines in a commercial kitchen isn't just a technical job—it's a legal one.
Here in Washington, and especially within Seattle city limits, any change you make to a gas appliance is covered by strict codes. These rules are there for a reason: to protect your business, your team, and your customers. Get this wrong, and you could be looking at failed inspections, a voided insurance policy, and serious safety issues.
The Seattle Department of Construction & Inspections (SDCI) is the agency that keeps an eye on this kind of work. Any time you run new gas piping or make a big change to an appliance's fuel system, you're almost certainly going to need a permit. While swapping out an orifice on an existing setup might feel like a gray area, changing the fuel source entirely is a major alteration. It’s something you have to approach with local codes top of mind.
When a Professional Is Not Optional
Some maintenance can definitely be handled in-house, but there are clear lines you can't cross. Knowing where that line is is critical for any operator, whether you’re outfitting a food truck or a big restaurant with a full line of commercial refrigerators and cooktops.
In Seattle, you are required by law to hire a licensed and bonded gas technician for a few common situations:
- Running New Gas Lines: If you need to install a new hard pipe from your propane tank to the range, this is non-negotiable. It must be done by a licensed pro.
- Major Appliance Installation: Putting in a new or relocated commercial range, especially if it needs new hookups, demands a professional's expertise and a permit.
- Building Modifications: Any work that involves cutting into walls or changing the building's structure to fit new piping puts you squarely in permit territory.
- Lack of Certification: If you or your staff don't have specific certifications for gas appliance work, you have a legal and ethical duty to bring in a professional.
A common mistake I see is operators assuming that because the range is already there, any work is just "maintenance." Changing the fuel type is an alteration, not upkeep. That distinction is huge for both code compliance and your insurance company.
The Financial and Safety Equation
Yes, bringing in a pro adds an upfront cost. Think of it as an investment in safety, compliance, and even efficiency. Propane packs a punch—it contains roughly twice the energy per unit volume as natural gas. You only need half as much fuel to get the same heat.
In 2023, national averages put propane at $2.60/gallon (around ~$14/MMBtu) while natural gas was about $3.20/MMBtu. For some restaurants, that translated to 10-15% in savings. You can dig into the cost-effectiveness of propane on PatriotPropane.com. But to actually see those benefits, the conversion has to be done perfectly.
These rules don't just stop at your range. The same codes apply to all your gas equipment, from your deep fryers to specialized Seattle bar equipment. Getting these installations right is a fundamental part of building a safe and efficient kitchen.
For a bigger picture on kitchen planning, check out our guide on setting up a commercial kitchen. At the end of the day, knowing when to call a professional isn't about giving up; it’s about making a smart business decision that protects everything you've built.
Gas Range Conversion FAQs
When you're running a restaurant kitchen in Seattle, every piece of equipment has to pull its weight. Messing with your main cooking line is a big deal, so it's natural to have questions before diving into a gas conversion. We get these all the time from local operators, so let's clear up a few things about switching a commercial range from natural gas to propane.
Can I Convert Any Natural Gas Range to Propane?
This is the most important question, and the answer is a hard no. Not every commercial range is built to be converted. The ability to swap fuels is a specific feature designed by the manufacturer.
Before you even think about buying a kit, you need to find the range's data plate or dig out the owner's manual. You're looking for exact phrasing like "field convertible" or "LP convertible." If that language isn't there, the unit is almost certainly meant for natural gas only. Trying to force a conversion on a non-convertible range is a recipe for disaster—it's incredibly dangerous, instantly voids any warranty, and is a guaranteed fail on a safety inspection. This goes for everything, from a six-burner range to the gas components in some Seattle coffee shop refrigerators with beverage dispensers.
Will Propane Cook Differently Than Natural Gas?
When the conversion is done by the book, you shouldn't notice any difference in your range's performance. That's the whole point of using a manufacturer-certified conversion kit—it's designed to maintain the appliance's specified BTU output.
The new, smaller propane orifices and the properly adjusted regulator are engineered to work as a team. They deliver the higher-pressure propane in a way that perfectly imitates the performance of lower-pressure natural gas. You get the same heat, the same control, and the same consistency you've always had.
A botched conversion is another story entirely. If you use the wrong parts, you’ll either get sooting from a rich flame (too much fuel) or weak heating from a lean one (too much air). This is why you absolutely must stick to the OEM kit for reliable performance, whether it's for your deep fryers or the burners on your pizza prep tables.
Do I Really Need a Special Gas Hose for Propane?
Yes, you absolutely do. You have to use a gas connector hose that is specifically rated and certified for propane, often marked as "LP gas." They might look the same as natural gas hoses on the outside, but the rubber lining on the inside is different.
Propane acts as a more aggressive solvent than natural gas and will eat away at the lining of a hose that isn't rated for it. Over time, that leads to cracks and brittleness, which can cause a serious gas leak. Always double-check that your hose is certified for LP gas and can handle the total BTU load of your commercial range.
What Happens If I Use the Wrong Orifice Size?
Mixing up orifice sizes is one of the most dangerous mistakes you can make. Each little brass nozzle in a conversion kit is drilled to a super-precise diameter to deliver a very specific amount of fuel to a specific burner.
- Orifice too big: You'll get way too much propane flowing to the burner. This creates a huge, uncontrolled flame that doesn't burn cleanly, leading to black soot and dangerous levels of carbon monoxide.
- Orifice too small: The burner will be starved for fuel. You'll end up with a weak, sputtering flame that can't get up to proper cooking temperatures and might even blow out.
Always use the exact orifice the kit specifies for each burner—they are not one-size-fits-all. Getting this right is what ensures every part of your cook line, from your main range to your Seattle bar equipment, runs safely and powerfully.
At Seattle Restaurant Equipment, we know that a successful kitchen is built on reliable tools. Whether you're converting an existing range or outfitting a new food truck, we have the new, dependable commercial kitchen equipment you need, from commercial refrigerators and commercial freezers to sandwich prep tables and more. All our products are backed by solid warranties and ship free across Washington. https://seattlerestaurantequipment.com