

Let's be honest, most commercial chest freezers end up as a frozen black hole. You toss things in, they sink to the bottom, and you don't see them again for six months. In a busy Seattle kitchen, that's not just messy—it's money down the drain. An organized freezer is a profit center, not a luxury.
Laying the Foundation for an Organized Commercial Freezer
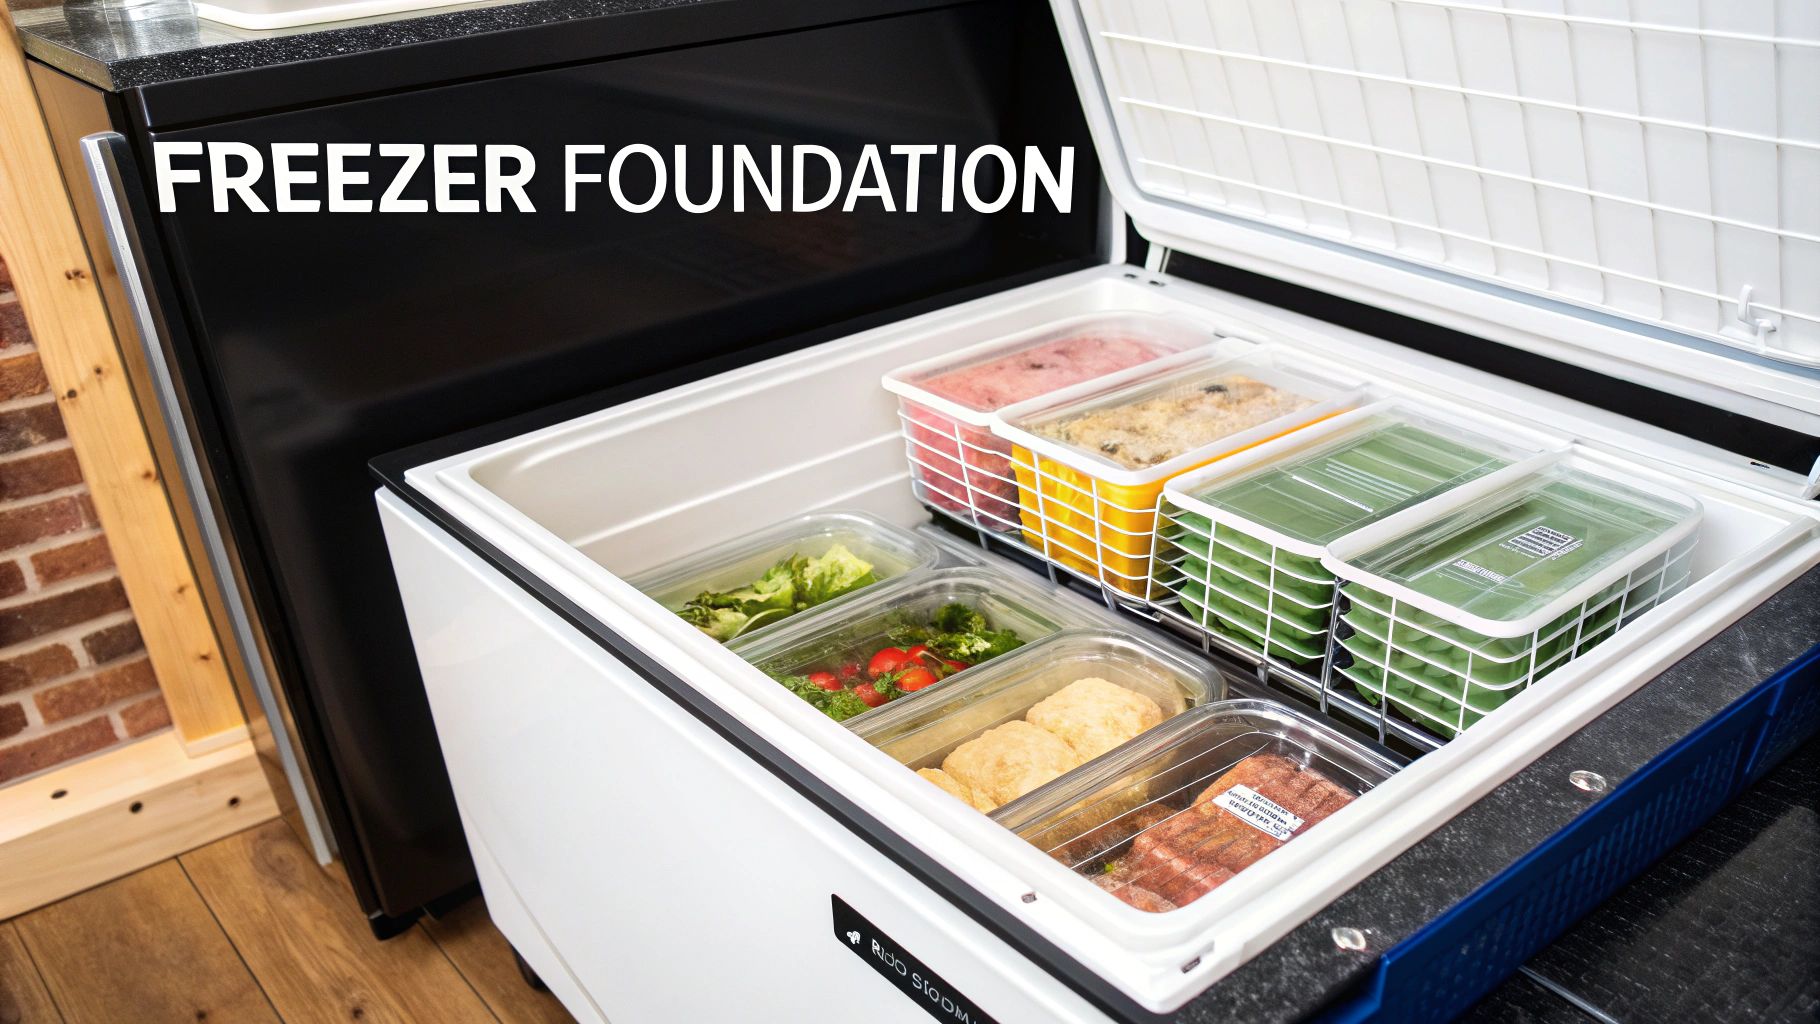
Before you can even think about inventory systems or fancy labels, you have to hit the reset button. That means a full empty-out, a complete defrost, and a deep clean. This isn't just about making it look nice; it's a fundamental task for passing health inspections and making sure your equipment is even working properly.
Once the freezer is sparkling, you can start building a real, professional-grade storage strategy.
The Power of a Clean Slate
There's no shortcut here. For any food business, from a Pike Place Market stall to a multi-location restaurant group, starting with a totally empty freezer is the only way to get back in control. It's your chance to inspect every single item, toss anything with freezer burn or an expired date, and get a true count of what you actually own.
This initial reset gives you a clear picture of your inventory, stops you from accidentally reordering a case of something you already have, and cuts down on food waste. It's a foundational step that’s just as crucial as the initial planning when you’re setting up a new commercial kitchen layout.
Introducing Freezer Zoning
After the deep clean, it’s time to implement the core strategy every efficient kitchen uses: freezer zoning. This simple concept turns your freezer from a jumbled mess of boxes into a logical, mapped-out unit.
The impact is huge:
- Designate specific areas for different food categories. Maybe the bottom layer is for bulk proteins, while a top basket holds prepped items for your sandwich prep tables.
- Create an intuitive flow that mirrors how your kitchen operates. Ingredients you grab constantly should be right on top, not buried under boxes of things you use once a month.
- Slash search time. Your crew can find what they need in seconds, which means the lid stays closed, saving energy and keeping everything at a safe temp.
A well-zoned freezer isn't just about being tidy; it's a tool for optimizing your kitchen's workflow. The less time that lid is open, the more you save on your energy bill and the safer your food stays.
This system works for any size operation. Whether you're running a single under counter freezer in a Belltown bar or a dozen walk-in commercial refrigerators, the principles are the same. It’s what separates the pros from the amateurs.
The global market shows just how vital these units are, with chest freezers making up nearly half (49.8%) of all sales. This points to a massive opportunity for improving efficiency. When you start treating your freezer like a small warehouse—with zones, clear labels, and a running inventory list—you can expect to see food waste drop by 10–25%. It's a disciplined approach, but it’s the backbone of any serious cold storage program.
Designing a Practical Freezer Zoning System
Alright, you've got a clean, defrosted freezer—a beautiful blank canvas. Now for the fun part: turning that empty box into a smart, efficient system that actually works for your kitchen's real-world flow.
Let's be honest, the needs of a busy Seattle cafe slinging breakfast sandwiches are worlds apart from a fine-dining spot prepping delicate sauces. The goal here isn't just about being tidy. It's about creating a logical map that supports your menu and cuts down on the frantic searching during a service rush.
Think of your chest freezer as a piece of real estate. The bottom layer, that hard-to-reach deep zone, is perfect for long-hold items you don't need every day. The top baskets? That's your prime real estate for high-turnover ingredients. This simple shift in thinking turns a chaotic ice box into a high-performance tool that works for you.
Choosing the Right Tools for the Job
The bins and baskets you use are just as critical as the zones you map out. Just tossing everything into random, mismatched containers is a recipe for disaster. The right gear will not only get you organized but will also protect your product and even help your freezer run more efficiently.
In a commercial kitchen, durability and function are everything. Here are a few solid options:
- Stackable Wire Baskets: These are fantastic for letting cold air circulate, which is a big deal for keeping temperatures consistent. They're perfect for bagged goods like frozen fries for your deep fryers or pre-portioned veggies.
- Color-Coded Plastic Bins: Commercial-grade, BPA-free plastic bins are absolute workhorses. By assigning colors—say, red for raw meat, green for produce, blue for fish—even the newest person on your team can find what they need in seconds.
- Reusable Insulated Bags: This is a surprisingly slick move, especially for separating items by service (think of an entire "brunch service" bag). It lets your crew grab a whole category of ingredients at once without rummaging around.
The best system is the one your team will actually stick with. Keep it simple, keep it visual. Overly complicated maps with a dozen sub-categories tend to fall apart the second the dinner rush hits.
And remember, this isn't just about your main walk-in or chest freezer. The same zoning logic applies to the under counter freezers on the line or the dedicated storage in your Seattle coffee shop refrigerators. When you have a consistent system across all your cold storage, training and daily prep become way, way smoother.
Creating Your Custom Freezer Map
So, let's put this into practice. A Seattle deli that lives and dies by its sandwich prep tables needs a system built for speed, keeping core ingredients right at their fingertips. Their freezer map is going to look completely different from a pizzeria that needs to store bulk dough and cheese near its pizza prep tables.
Let's game-plan for that bustling Seattle cafe we mentioned. Their menu is all about pastries, breakfast burritos, and coffee. They use a big chest freezer for their bulk inventory and a smaller under counter refrigerator for the daily grab-and-go stuff.
Here's how we'd map out their main freezer to keep things moving.
Sample Freezer Zone Plan for a Seattle Cafe
This table breaks down a simple, effective way to assign every inch of freezer space, making sure your most-used items are always the easiest to grab.
| Zone (Location) | Primary Food Category | Recommended Container | Example Items |
|---|---|---|---|
| Bottom Layer (Deepest) | Bulk Proteins & Long-Hold Items | Labeled Plastic Tubs | Cases of sausage patties, bacon, frozen eggs |
| Middle Layer (Left Side) | Frozen Breads & Pastries | Wire Baskets | Bulk bagels, croissants, scone dough |
| Middle Layer (Right Side) | Vegetables & Fruits | Wire Baskets | Bags of frozen spinach, bell peppers, berries for smoothies |
| Top Baskets (Hanging) | High-Turnover Prepped Items | Color-Coded Small Bins | Pre-portioned breakfast burrito fillings, single-serve hash browns |
| Side Shelf/Hump | Dairy & Specialty | Small, Clear Bins | Blocks of butter, specialty cheeses, backup milk cartons |
See how that works? The heavy, long-hold items create a stable base at the bottom, out of the way. Meanwhile, everything needed for the daily grind is right up top in the baskets, ready to go.
This kind of strategic organization is a huge part of how to organize a chest freezer for maximum efficiency in any commercial kitchen. It directly supports all your other equipment, from the Seattle bar equipment to your primary cooking line.
Mastering Inventory with Smart Labeling and FIFO
A perfectly zoned freezer is a great start, but let's be honest, without a system to track what's inside, it’s just a neatly organized pile of mystery meat. This is where you start protecting your profits. For any high-volume kitchen, an organized freezer stands on two critical pillars: smart labeling that can actually survive the cold and a strict First-In, First-Out (FIFO) system.
These two practices are a team. They work together to slash food waste, guarantee product quality, and keep your inventory numbers from becoming a work of fiction. Skipping this part is like building a race car engine but forgetting the oil—it’s only a matter of time before the whole thing seizes up.
Labels That Actually Last in the Cold
Your average paper label and a ballpoint pen are completely useless in a commercial freezer. The moisture and sub-zero temperatures will make them peel, smudge, or just fall off, leaving you guessing what’s in that frozen block. You need a labeling system built for that harsh, cold, and damp environment.
Here are your best bets:
- Waterproof Freezer Labels: It's worth investing in labels specifically made for these conditions. They use an aggressive adhesive that won’t give up when the temperature plummets.
- Oil-Based Paint Markers: Regular permanent markers can fade or bleed, but oil-based paint markers create bold, waterproof text that stays readable for months, even under a layer of frost.
- Masking Tape and a Good Marker: If you’re in a pinch, a wide strip of quality masking tape can do the job. The trick is to apply it to the container before it goes into the freezer, while the surface is still dry and at room temp.
Of course, what you write on the label is just as important. To be truly effective, every single label needs three key pieces of information.
The Labeling Trinity
- Item Name: Be specific. Think "Chicken Thighs, Skin-On," not just "Chicken."
- Freeze Date: This is the absolute linchpin for FIFO. Always use a clear MM/DD/YY format.
- Quantity/Weight: Note the amount, like "5 lbs" or "12 portions," so your prep cooks don't have to pull and thaw more than they need.
This system isn’t just for your big walk-in or chest freezer, either. It should be the standard practice for everything, right down to the ingredients stashed in your under counter refrigerators.
Making FIFO Work in a Chest Freezer
FIFO is a simple concept: use the oldest stuff first. In a deep chest freezer, though, it’s a real challenge. New items always seem to land on top, burying the older stock at the bottom where it’s forgotten. To stop this from happening, you need a physical system that forces your team to rotate stock correctly.
A simple and incredibly effective method is the "two-bin" or "left-to-right" system. You designate one side (or one set of baskets) for new inventory and the other for "use-first" stock. When a cook needs an ingredient, they always pull from the "use-first" side. Once that side is empty, the "new" side becomes the "use-first" side, and all the fresh product goes into the newly empty space. This creates a constant, physical rotation that’s hard to mess up.
This concept map shows how all the pieces—zoning, containers, and categories—fit together.

A strong FIFO system is the final layer that turns this static map into a living, efficient inventory tool. Starting with quality equipment makes maintaining these systems so much easier. If you're looking to manage costs, checking out reliable used commercial kitchen equipment can give you a solid foundation without the massive upfront investment.
Maximizing Every Inch of Your Cold Storage

In any Seattle food business, from a busy coffee shop to a high-volume restaurant, every square inch of cold storage is valuable real estate. Wasted space isn't just inefficient—it's a direct hit to your bottom line. Once you’ve zoned your freezer and have a handle on inventory, it’s time to get strategic to squeeze every last bit of utility out of your investment.
This means thinking beyond just stacking boxes. It’s about creating a system where your chest freezer acts as a strategic backup for the primary units on your line. Think of your under counter freezers and sandwich prep tables. When a line cook is running low on pre-portioned fries for the deep fryers, that backup supply needs to be instantly accessible, not buried under a pile of unlabeled mystery bags.
Go Vertical to Conquer the Chaos
Let’s be honest: the biggest headache with any chest freezer is the jumble that forms at the bottom. It’s where bags of frozen vegetables, prepped meats, and other soft items get compressed into an icy, unrecognizable mass. The solution is to think vertically.
You can create structure where there is none by using a few simple tools to build upward. This completely sidesteps the dreaded "bottom-of-the-freezer" black hole where good product goes to be forgotten.
- Adjustable Freezer Dividers: These are brilliant for creating rigid, upright "lanes" in the main cavity of the freezer. You can file bagged items like books on a shelf, which makes them a breeze to see and grab.
- Stackable Milk Crates: For a rugged, low-cost option, you can't beat milk crates. They create a strong, stable second layer, perfect for storing heavier boxes without crushing everything underneath.
- Tension Rods: Here's a clever hack for smaller commercial freezers: use spring-loaded tension rods. Place them a few inches from the top to create a shallow shelf for lightweight, frequently used items you need to grab fast.
By building vertically, you can effectively double your usable surface area. This is the key for anyone wondering how to organize a chest freezer and keep it from collapsing into one big, disorganized pile.
This vertical approach isn't just about being tidy; it's about workflow. A solid vertical system means your team can quickly restock line equipment—like a pizza prep table or the coolers for your Seattle bar equipment—without wasting precious minutes during a rush.
The Art of Flat-Freezing
One of the most effective space-saving techniques I've seen is flat-freezing, especially for liquids like soups, sauces, and stocks. Instead of freezing them in bulky, round containers, you can transform them into stackable, space-saving bricks.
The process is incredibly simple:
- Portion your liquids into heavy-duty, vacuum-sealable bags.
- Lay the bags flat on a sheet pan, making sure they freeze in a uniform, thin layer.
- Once they’re frozen solid, just take them off the pan. You can now stack these frozen "bricks" vertically or horizontally, just like files in a cabinet.
This method is a total game-changer for commissaries and prep-heavy restaurants. It dramatically cuts down on the space needed for liquids, freeing up valuable room for bulkier items.
The growing demand for more freezer capacity really highlights the need for smart organizational tactics like these. The chest and upright freezer market was valued at around USD 15–17.6 billion in the early 2020s, with forecasts showing annual growth rates between 4% and 6.8%. This trend is driven by businesses needing more storage, and the 500+ liter segment is the fastest-growing for commercial use. As operators invest in these larger units, techniques like flat-freezing and vertical dividers become absolutely critical for managing that expanded space effectively. You can discover more insights about these market trends over at Market Report Analytics.
Whether you're managing a single compact unit or checking out the wide range of chest freezer options available in Seattle, these strategies will ensure you get the maximum return on your equipment investment.
Keeping Your System Working Long Term
Alright, you did the hard part. The chest freezer is zoned, labeled, and looking sharp. But let's be honest—the real work isn't the big overhaul. It's stopping that perfectly organized system from turning back into an icy mess in two weeks.
A well-run freezer is a living part of your kitchen, and keeping it that way means building simple, consistent habits into your daily flow. This isn't about piling more work onto your crew. It’s about small, smart checks that protect your investment—not just in the food, but in your high-performance commercial freezers and commercial refrigerators that are the backbone of your operation.
Building Your Maintenance Rhythm
The secret to a system that lasts is a predictable schedule. When you break maintenance down into daily, weekly, and monthly tasks, it feels manageable and stops small issues from blowing up into big, expensive problems. Giving someone ownership of these checks is key to making sure they actually happen in the heat of service.
-
Daily Temperature Log: This is a must-do, no exceptions. A quick check and sign-off at the start of every shift confirms your unit is holding steady at or below 0°F. This one habit can catch equipment failure early and save you thousands in spoiled product.
-
Weekly Zone Tidy-Up: Carve out just 10 minutes once a week for a quick reset. This is all about restacking items that got tossed in carelessly during a rush and making sure every label is still easy to read.
-
Monthly Inventory Spot-Check: You don’t need a full-blown inventory count every month. Just pick one or two zones and do a quick comparison against your inventory sheet. It’s a great way to keep your counts accurate and your team on top of things.
An organized system that isn't maintained is just a temporary victory. Consistency is what turns good organization into a permanent, profit-saving workflow.
This routine care has a ripple effect, ensuring the backup ingredients for your sandwich prep tables or pizza prep tables are always in perfect condition and right where you need them.
The Critical Task of Defrosting
Ice buildup is the silent killer of freezer efficiency. A layer as thin as a quarter-inch forces your compressor to work overtime, jacking up your energy bill and straining the motor. In a professional kitchen, you need to plan on a manual defrost whenever that ice hits the ¼-inch mark—or at least twice a year, minimum.
Regular defrosting is about more than just saving energy. It protects your inventory from freezer burn, adds years to the life of your appliance, and makes your entire bin and divider system work the way it was designed. Quality gear, like the under counter freezers and specialized Seattle coffee shop refrigerators from Seattle Restaurant Equipment, is built to last, but routine defrosting is how you get every bit of value out of it.
Your Simple Maintenance Checklist
To make this dead simple to implement, we've put together a straightforward schedule. I'd recommend laminating a copy and posting it right on the freezer lid. It's a clear, visual reminder for the whole crew.
Chest Freezer Maintenance Checklist
Here's a quick schedule of routine tasks to ensure your commercial chest freezer stays organized, efficient, and up to code.
| Task | Daily | Weekly | Monthly/Quarterly |
|---|---|---|---|
| Check & Log Temperature | ✔ | ||
| Wipe Down Lid & Gasket | ✔ | ||
| Quick Zone Tidy-Up | ✔ | ||
| Rotate "Use-First" Bins | ✔ | ||
| Conduct Inventory Spot-Check | ✔ | ||
| Inspect for Ice Buildup | ✔ | ||
| Schedule Full Defrost & Clean | As needed (min. 2x/year) |
By building these simple tasks into your kitchen's workflow, you guarantee your freezer remains a high-performance asset instead of a constant headache. It’s the final piece of the puzzle in truly mastering how to organize a chest freezer for long-term success.
Answering Your Top Commercial Freezer Questions
Even the most organized kitchens run into snags. It’s one thing to set up a system for your chest freezer, but the real test is keeping it running smoothly week after week. Here are some of the most common questions I hear from Seattle restaurant owners, with answers straight from the trenches.
How Often Should We Really Defrost Our Chest Freezer?
Plan on defrosting your freezer whenever the ice hits about a quarter-inch thick. For most places, this works out to at least twice a year, minimum. But here in Seattle, with our humidity and the constant opening and closing during a busy service, you’ll likely need to do it more often.
Don't put this off. Consistent defrosting is the key to efficiency. A thick layer of ice makes your compressor work overtime, which shortens the life of your equipment and puts your food at risk for freezer burn. This isn't just about chest freezers; it applies to all your heavy-duty commercial freezers.
What Are the Best Containers That Won't Break in a Freezer?
In a pro kitchen, you need containers that can take a beating. Forget cheap consumer plastics—they’ll just crack and cause a mess. Instead, invest in commercial-grade, BPA-free plastic bins designed to stack neatly. A lot of kitchens use a color-coded system (red for raw meat, green for produce) to make grabbing the right thing a no-brainer.
A couple of other great options to consider:
- Heavy-duty wire baskets are perfect for bagged items like fries or frozen vegetables because they let the cold air circulate.
- Vacuum-sealed bags are unbeatable for saving space. Freeze liquids like soups and sauces flat, and you can stack them like books.
This same logic applies to all your cold storage, from your main chest freezer to the compact under counter refrigerator at the prep station.
Here’s a pro tip: Always look for containers with straight sides, not tapered ones. They stack flush against each other, eliminating those annoying wedge-shaped gaps that waste so much precious freezer real estate.
Our Inventory List Is Never Accurate. What's a Better Way?
The best inventory system is the one your team will actually use. A fancy app is useless if no one logs anything. Sometimes, the simplest methods are the most effective.
Try a laminated chart with a dry-erase marker mounted right on the freezer lid. The trick is to make it part of the workflow. Assign one person per shift to own it. When an item gets pulled for the sandwich prep tables or pizza prep tables, it gets marked off immediately. When a new delivery comes in, it gets added right then.
Consistency will always beat complexity. This simple approach turns your inventory list from a source of frustration into a reliable tool, helping you manage stock for everything from your deep fryers to your Seattle bar equipment.
For any Seattle-area food business looking to upgrade its cold storage, Seattle Restaurant Equipment offers a wide selection of new, reliable commercial refrigerators, freezers, and prep tables built to withstand the demands of a professional kitchen. Equip your operation with dependable gear by visiting us at https://seattlerestaurantequipment.com.