

Your kitchen's layout is more than just a floor plan; it's the blueprint for how your entire operation runs. A smart design creates a logical flow that boosts speed, keeps things safe, and frankly, makes your team's job a whole lot easier. Get the workflow right, and you've built the foundation for an efficient, profitable kitchen.
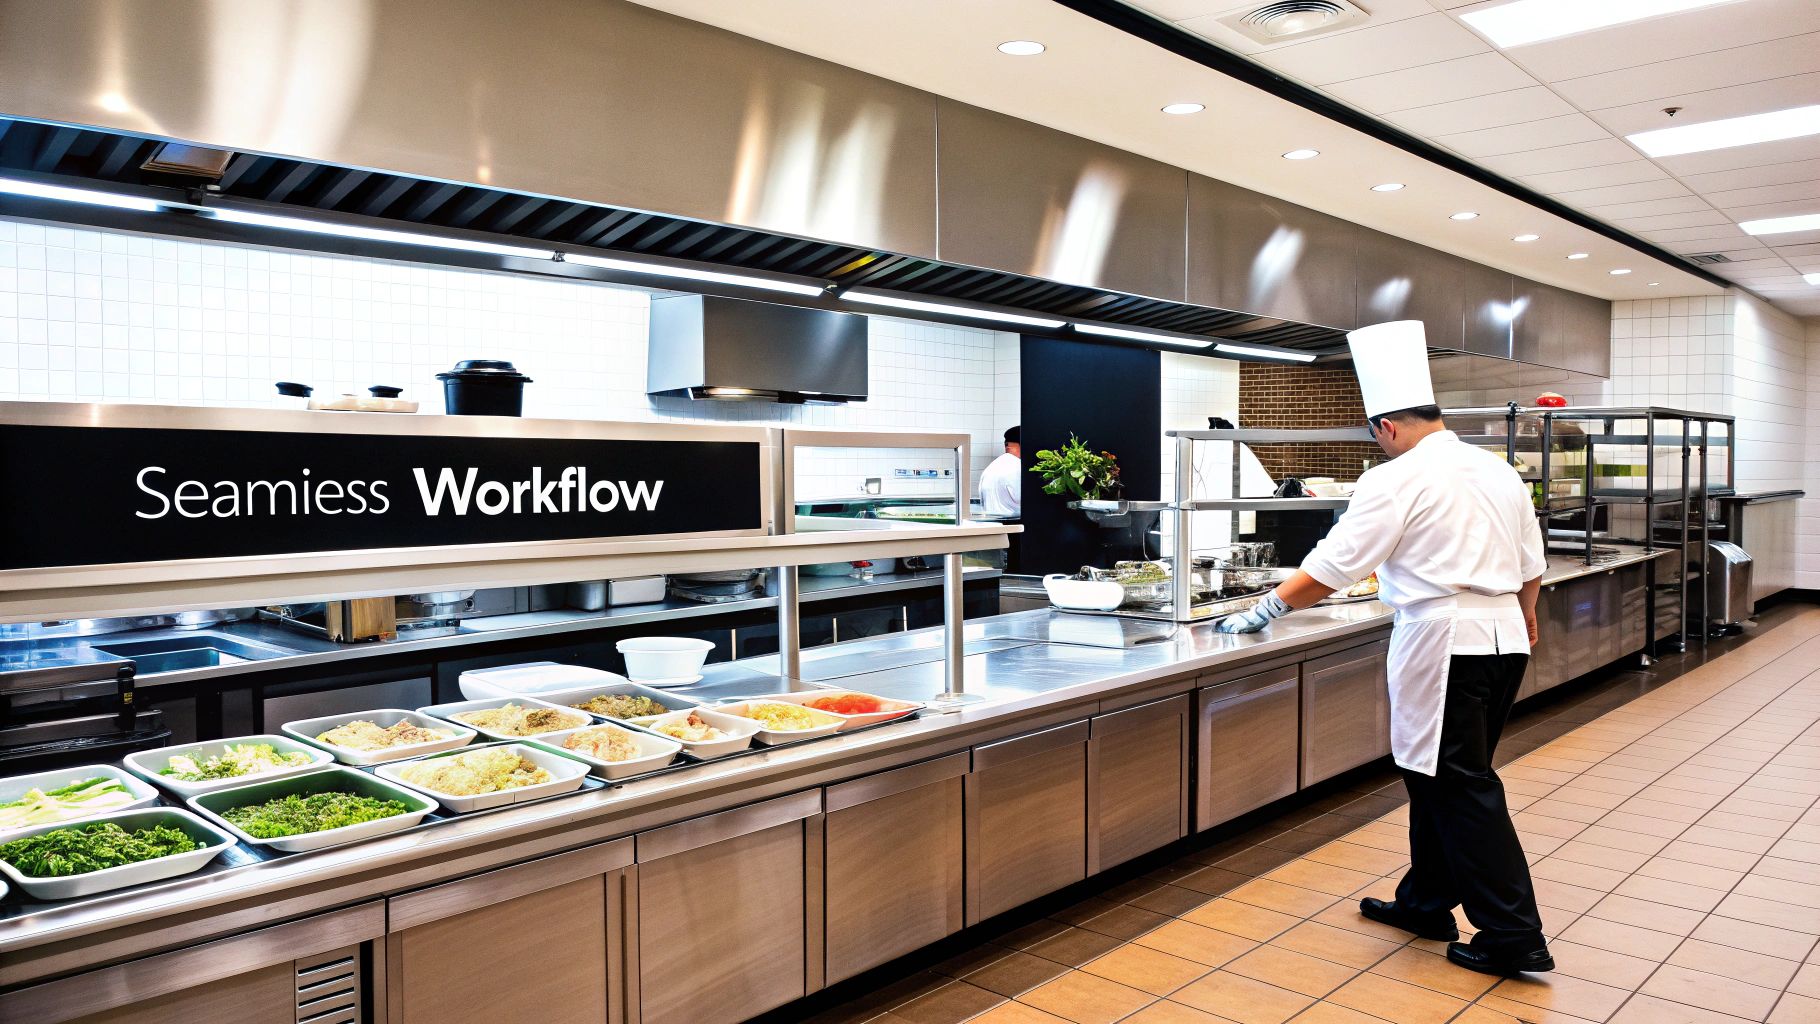
Designing Your Kitchen for a Seamless Workflow
The way you arrange your kitchen physically impacts everything from ticket times to staff morale. I've seen poorly planned spaces lead to frustrating bottlenecks, serious cross-contamination risks, and so much wasted movement. All of that costs you money. A thoughtful layout, on the other hand, turns your kitchen into a high-powered engine.
The goal is to create a straight line where ingredients move seamlessly from delivery to the final plate without ever backtracking.
This all comes down to mapping your space around your menu. A high-volume Tacoma burger joint has completely different needs than a cozy Seattle cafe that’s all about espresso and pastries. The key is to create dedicated zones, or stations, for each core function. This makes the whole process smooth and intuitive for your crew.
The Five Core Kitchen Stations
Any efficient kitchen is built around five distinct stations, each with a clear purpose. When you arrange these zones in a logical sequence, you prevent chaos during a busy dinner rush.
- Receiving: This is where it all begins. Your receiving area should be right by a back door, with enough room to actually inspect deliveries for quality and accuracy before anything gets put away.
- Storage: Right next to receiving, you need your storage. This includes dry storage shelving and your essential cooling units like commercial refrigerators and commercial freezers. Keeping raw ingredients organized here prevents spoilage and makes inventory a breeze.
- Preparation (Prep): From storage, ingredients move to the prep station to be washed, chopped, and portioned out. This zone needs plenty of counter space, dedicated sinks, and easy access to all your smallwares.
- Cooking: This is the heart of your kitchen, what we call "the line." It’s where your ranges, deep fryers, and griddles live. You want it placed where communication is easy and dishes can be passed off quickly.
- Serving: The final stop. This is where dishes get plated, garnished, and picked up by servers. It needs to be close to both the cooking line and the dining room exit to keep food hot and service fast.
This visual diagram really helps illustrate that ideal flow, moving from receiving all the way through to serving.
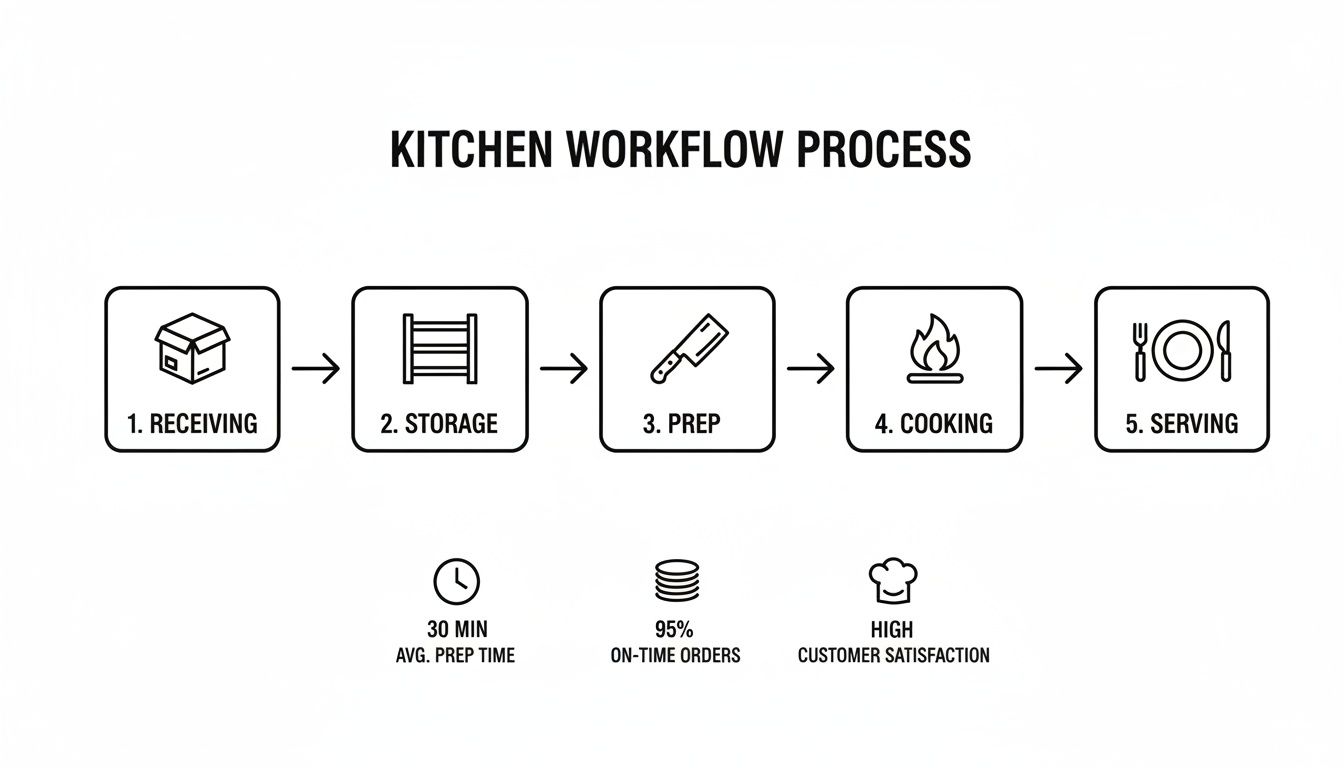
You can see how a linear path minimizes cross-traffic and keeps everything moving forward toward the final dish.
Meeting Washington State Health Codes
Beyond just being efficient, your layout absolutely must comply with Washington State health and safety regulations. Health inspectors are trained to look for specific things that guarantee a safe environment for handling food. Ignoring these rules during the design phase will lead to expensive renovations and frustrating delays in opening.
A common mistake I see is people underestimating the space needed between equipment. Washington health codes require enough clearance for proper cleaning, which also improves airflow and reduces fire risk. Plan for this from day one, and you’ll save yourself a massive headache later.
A few key things to keep in mind are proper ventilation with commercial-grade hoods over your cooking equipment and installing grease traps that meet local codes. You also have to plan for separate sinks for handwashing, food prep, and dishwashing to avoid cross-contamination.
For a much deeper dive into creating a layout that’s both efficient and up to code, check out our detailed guide on crafting the perfect restaurant kitchen layout design. It’s packed with layouts and tips specifically for different restaurant concepts.
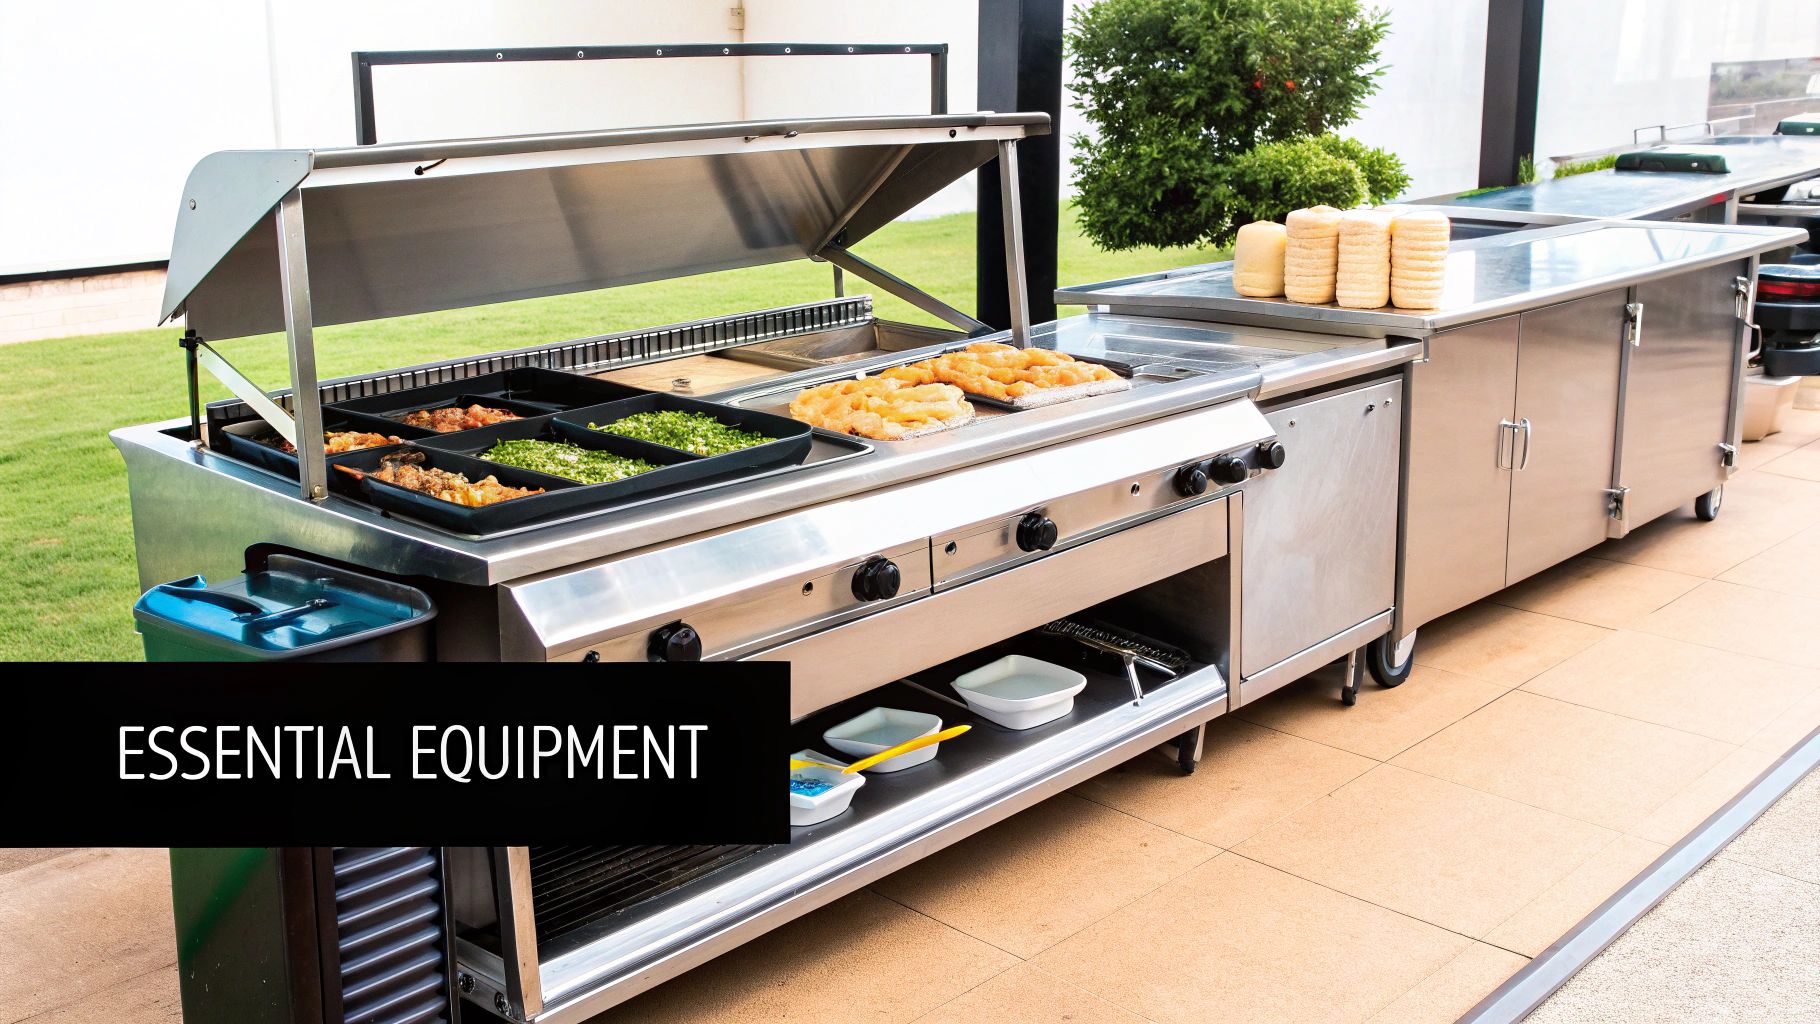
Your Essential Commercial Kitchen Equipment Checklist
Once you’ve nailed down the kitchen layout, it’s time to start shopping for equipment. This is a massive investment, and the gear you choose will make or break your daily operations, efficiency, and the quality of your food. Think of it like this: you're outfitting the engine of your business. Every single piece needs to be reliable, tough, and a perfect fit for its job.
This checklist hits the core equipment that forms the backbone of any professional kitchen, with a focus on the kind of high-quality, dependable options we stand by at Seattle Restaurant Equipment. Let's break it down by station to make sure you’ve got all your bases covered.
The Heartbeat of Your Kitchen: The Cooking Line
The cook line is where all the action happens, and it needs equipment that can take a beating during a slammed service. Your menu is your guide here. A steakhouse and a brunch spot have totally different needs, but some pieces are pretty much universal.
A solid deep fryer is a must-have for almost everyone. Whether you're turning out fries, tempura, or donuts, a commercial-grade fryer has to hold its temperature for that perfect, crispy finish. If you’ve got a lot of fried items, think about a model with multiple baskets to keep flavors from crossing over. Nobody wants fishy-tasting french fries.
Another non-negotiable for most kitchens is a commercial range. Whether you go gas or electric often depends on your utility hookups and what your chef prefers, but the combo of burners on top and an oven below makes it a true kitchen workhorse.
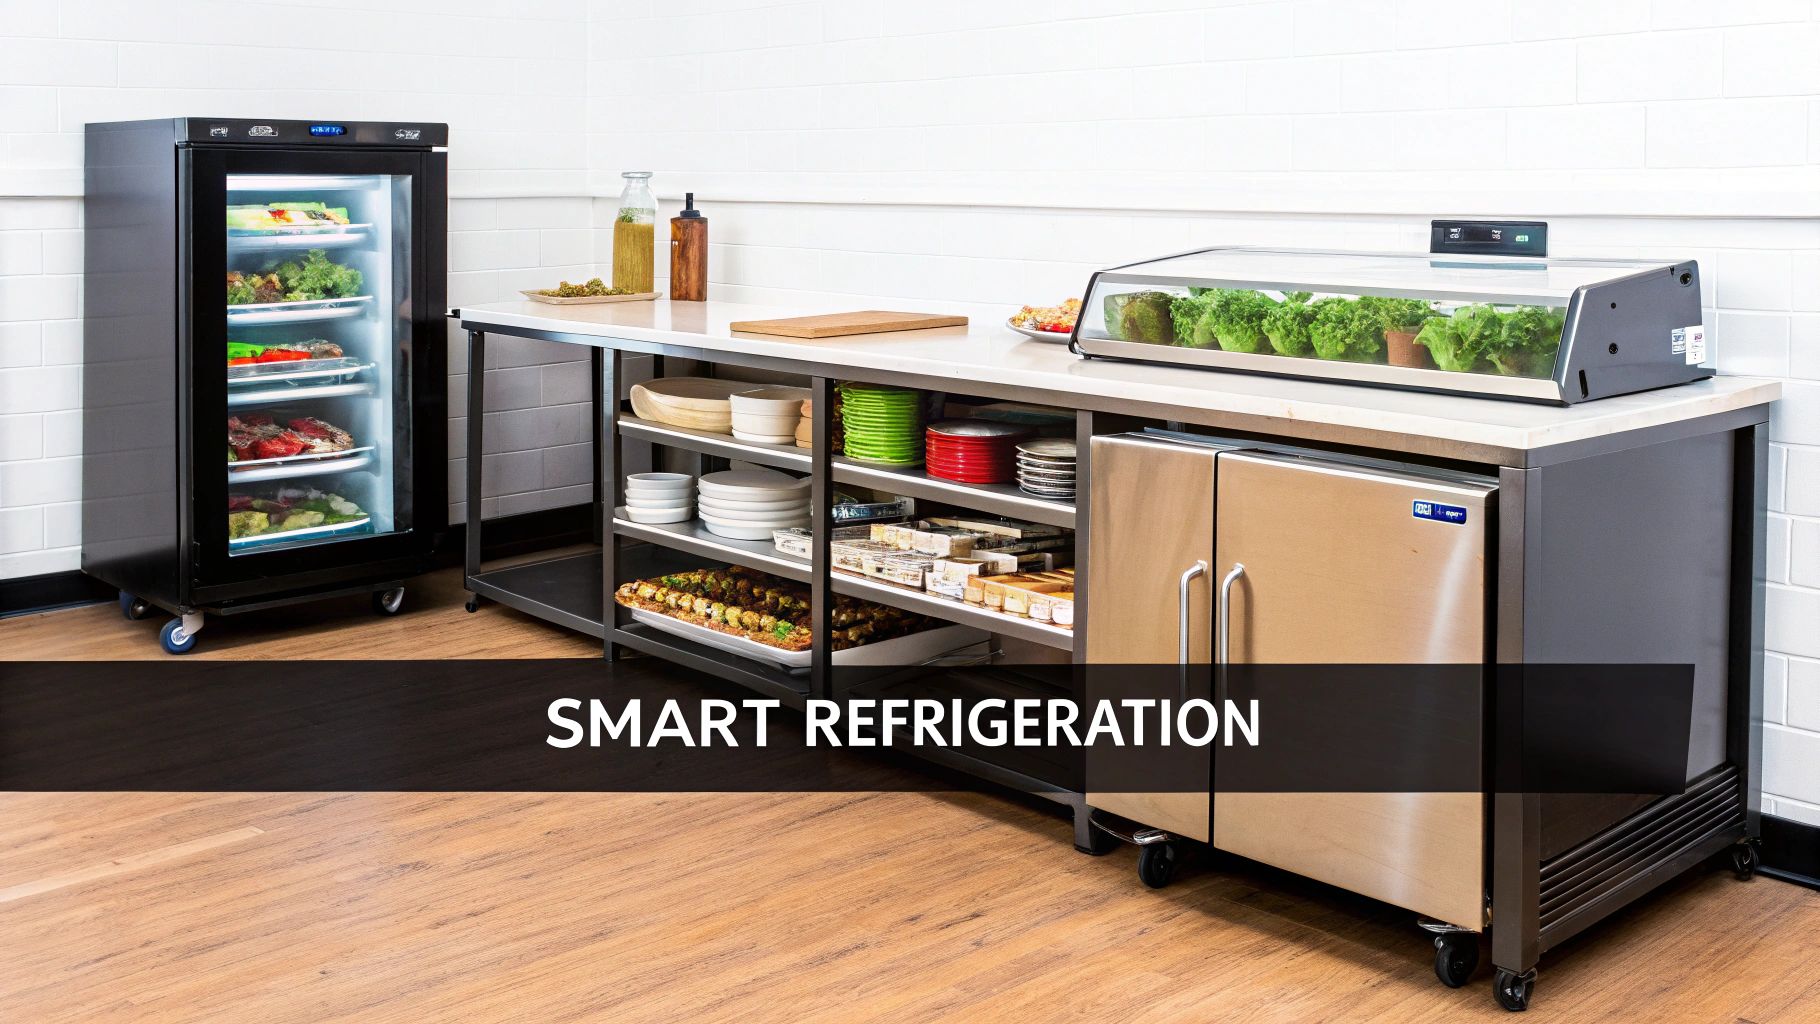
Mastering Cold Storage and Preparation
Refrigeration isn't just about keeping things cold—it's about locking in freshness, guaranteeing food safety, and organizing your inventory so the line runs smoothly. Honestly, this might be the most important equipment category you'll invest in.
- Commercial Refrigerators: These are your go-to units for produce, dairy, and prepped ingredients. You'll want reach-in models with enough cubic footage to handle your daily volume.
- Commercial Freezers: Absolutely critical for long-term storage of meats, seafood, and batch-made items. Walk-ins are the dream for high-volume spots, but reach-in or chest freezers do the job in smaller kitchens.
- Under Counter Refrigerators: These little guys are lifesavers. Stick them right at your prep stations so cooks can grab what they need without trekking across the kitchen.
- Under Counter Freezers: Same idea, but for frozen goods. They're perfect for keeping things like appetizers or desserts right on the line for quick access.
For any restaurant in Seattle, rock-solid refrigeration is non-negotiable. Our damp climate can be tough on equipment, so choosing well-built, stainless steel units ensures your cold storage can handle both the environment and the nightly rush.
Smart prep tables are absolute game-changers for your workflow. A sandwich prep table, for example, gives you a refrigerated base, a cutting board, and ingredient rails all in one spot. It can radically speed up your sandwich or salad line. In the same way, a pizza prep table is designed with wider rails for big pizza pans and chilled compartments for all your toppings, making the whole process incredibly efficient.
To help you visualize, here’s a quick breakdown of what you'll need for each key station in your kitchen.
Essential Equipment for Key Kitchen Stations
| Kitchen Station | Essential Equipment Examples | Key Selection Considerations |
|---|---|---|
| Cooking Line | Commercial Range, Griddle, Charbroiler, Deep Fryer | Menu Driven: Match BTUs and size to your menu items. Gas vs. Electric depends on utility availability and chef preference. |
| Refrigeration | Reach-In Refrigerator/Freezer, Walk-In Cooler, Under-Counter Units | Volume & Space: Ensure enough cubic footage for inventory. Consider ENERGY STAR models to save on utility bills. |
| Food Prep | Stainless Steel Prep Tables, Food Processors, Mixers, Slicers | Durability: Look for NSF-certified stainless steel. Match motor power (HP) on mixers/processors to your batch sizes. |
| Warewashing | 3-Compartment Sink, High-Temp Dishwasher, Drainboards, Wire Shelving | Health Code & Speed: Must meet local health codes. A high-temp dishwasher sanitizes faster, improving turnover. |
| Storage | Dunnage Racks, Wall Shelving, Ingredient Bins | Organization & Safety: Use NSF-rated shelving. Dunnage racks keep bulk items off the floor as required by health inspectors. |
This table covers the fundamentals, but remember that every kitchen has its own unique needs based on the menu you're serving.
Specialized Equipment for Niche Concepts
Beyond the basics, your specific concept will call for some specialized gear. In Seattle, with our incredible coffee scene, new cafes need the right equipment to make a mark.
A Seattle coffee shop refrigerator setup might include a slick glass-door merchandiser for grab-and-go items, right next to an under-counter milk cooler at the espresso bar. This isn't just about workflow; it's about merchandising and creating a great customer experience.
For bars and pubs, a full suite of Seattle bar equipment is essential. We’re talking everything from kegerators and back-bar coolers to ice bins and high-speed glass washers. Purpose-built bar equipment is designed to fit in tight spaces and helps bartenders work faster, keeping the drinks flowing and the customers happy when you're three deep at the bar.
Choosing the Right Refrigeration and Prep Tables
Solid refrigeration is the unsung hero of any successful kitchen. It’s about so much more than just keeping food cold—it’s the guardian of your expensive ingredients, the bedrock of food safety, and the key to a smooth, efficient prep line. Getting your cold storage and prep surfaces dialed in from day one will save you a world of hurt later on.
Let’s get into the nitty-gritty of selecting the perfect combo of refrigeration and prep tables, focusing on the kind of durable, commercial-grade gear we stock here at Seattle Restaurant Equipment. We'll cover the foundational workhorses and the specialized equipment that can completely change your kitchen's workflow.
Differentiating Commercial Refrigerators and Freezers
First things first: you need both a commercial refrigerator and a commercial freezer. They might look similar, but they have completely different jobs. Your refrigerators are the daily workhorses, holding all the produce, dairy, proteins, and prepped items you need for service, keeping them cool and ready to go.
Commercial freezers, on the other hand, are all about long-term storage. This is where you lock in the quality of your bulk-purchased proteins, big batches of sauce, and anything else you need to keep for weeks or even months. Sizing each one correctly is critical for managing inventory and keeping food waste down.
A classic rookie mistake is underestimating cold storage needs. It’s always better to have a little more space than you think you’ll need. Over-stuffing a unit kills the airflow, which makes the compressor work overtime, driving up your energy bill and risking a total breakdown.
Getting the difference is step one, but picking the right models is where the real strategy comes into play. For a detailed breakdown of top-performing units, check out our guide to the best commercial refrigerators. It can help you figure out which features are non-negotiable for a busy Washington kitchen.
Maximizing Space with Under Counter Units
In the tight confines of a commercial kitchen, every single square foot is gold. This is exactly why under counter refrigerators and under counter freezers are such game-changers. By sliding right under your prep tables and countertops, they put cold storage exactly where you need it—at every station on the line.
Think about it: your sauté cook can grab fresh herbs or butter without taking three steps away from the range. That’s the kind of efficiency that shaves seconds off every order. An under counter freezer can do the same, keeping appetizers or desserts frozen and ready for the deep fryer or plating station.
These little powerhouses solve a few huge problems:
- Reduced Foot Traffic: Cooks aren't constantly trekking back and forth to the main walk-in.
- Faster Ticket Times: With ingredients literally at arm's reach, dishes get assembled and out to the customer faster.
- Improved Organization: Each station gets its own dedicated stock, creating a much cleaner and more organized line.
Specialized Prep Tables That Boost Speed
For certain types of restaurants, specialized prep tables aren't a luxury—they're a requirement for survival. These units are brilliant because they combine a refrigerated base with a purpose-built prep surface, turning a multi-step process into one fluid motion.
A sandwich prep table, for example, is absolutely essential for delis and cafes. It gives you refrigerated wells right on top for all your sliced meats, cheeses, and veggies, all sitting above a chilled cabinet and right in front of a cutting board. An employee can build a dozen different sandwiches without ever having to move their feet.
In the same way, a pizza prep table is engineered specifically for pizzerias. They feature wider, deeper refrigerated rails to hold big pans of sauce, cheese, and toppings. This thoughtful design lets a pizza maker stretch dough, sauce it, top it, and slide it into the oven from one central, hyper-efficient station. You simply can't run a high-volume pizza spot without one.
Niche Refrigeration for Seattle Businesses
Beyond the typical restaurant kitchen, many Seattle businesses have their own unique refrigeration needs. The city’s incredible bar and coffee culture, for instance, demands equipment that’s as much about presentation as it is about performance.
For a busy cafe, a dedicated Seattle coffee shop refrigerator is a must. This could be a glass-door merchandiser that beautifully displays bottled drinks and grab-and-go snacks to encourage impulse buys. It might also be a low-profile under counter unit just for milk, tucked right next to the espresso machine to make the barista’s life easier.
Bars and pubs need a whole suite of Seattle bar equipment. We're talking back-bar coolers with slick glass doors to show off local craft beers and kegerators to pour the perfect draft. These units are built to be functional for the bartender and visually appealing for the customer, adding directly to the vibe and sales of the place.
Navigating Washington Health Codes and Permits
Before a single plate leaves your kitchen, you’ve got to get the green light from the local health department. This isn't just a bureaucratic hoop to jump through; it's about building a kitchen that’s fundamentally safe for the public. Getting a handle on Washington's health codes is a make-or-break step, and doing it right from the start will save you from massive headaches and costly delays.
The Washington State Retail Food Code sets the baseline, but remember that local health departments like King County Public Health (which covers Seattle and Bellevue) often have their own specific rules. Trust me, you want to get this right on paper before you start buying equipment or knocking down walls.
Core Requirements for Commercial Kitchens
Health inspectors are trained professionals. They walk in knowing exactly what to look for—the specific structural details and operational setups that stop foodborne illnesses in their tracks. Your kitchen plans absolutely have to include these non-negotiables.
Here are the big ones they'll focus on:
- Handwashing Stations: You need sinks dedicated only to handwashing. They can't be used for food prep or dishwashing. They must be easy for your staff to get to and always stocked with soap, paper towels, and the proper signage.
- Sanitation Areas: A three-compartment sink is a must-have for washing, rinsing, and sanitizing dishes manually. You'll also need a commercial dishwasher that can hit the high temperatures required for proper sanitation.
- Ventilation and Fire Safety: Any equipment that produces greasy smoke—think ranges, griddles, and deep fryers—requires a proper Type 1 ventilation hood. This system also has to meet local fire codes, which is a separate but related hurdle.
- Grease Trap Installation: Your kitchen must have a properly sized grease trap or interceptor. This keeps fats, oils, and grease out of the public sewer system, preventing clogs and hefty fines.
The most common failure I see during initial inspections is inadequate planning for sinks. An inspector will count them and check their placement immediately. Forgetting a dedicated handwashing sink near the prep line is an instant red flag and will halt your opening.
Preparing for Your Health Inspection
Passing your health inspection on the first try is totally achievable if you're prepared. The inspector isn't trying to fail you; they're there to confirm your kitchen is a safe place to prepare food. See it as a final confirmation that you've built your business on a solid foundation of safety.
Your job is to prove you've not only bought the right gear but also implemented the correct procedures. It's about showing you have a complete system in place.
Common Pitfalls to Avoid
So many new restaurant owners stumble over the same few issues. If you know what they are ahead of time, you can cruise right through your inspection.
- Improper Food Storage: Make sure raw meats are always stored on the bottom shelves of your commercial refrigerators, below any ready-to-eat foods. This prevents cross-contamination.
- Lack of Certified Food Protection Manager: Washington state law requires at least one person on every shift to hold this certification. No exceptions.
- Missing Paperwork: Have all of your permits, licenses, and certifications organized in a binder, ready for review. It just makes you look professional and prepared.
At the end of the day, a smooth inspection comes down to a solid plan. For a complete A-to-Z playbook covering everything from layout to launch day, check out our full guide to setting up a commercial kitchen.
How to Budget and Finance Your Kitchen
Let's be honest: setting up a commercial kitchen is one of the biggest checks you'll ever write. But don't let the sticker shock scare you off. With some smart financial planning, it's a completely surmountable mountain. Your first job is to build a rock-solid, realistic equipment budget. This isn't just a shopping list; it's the financial blueprint for a kitchen that can actually execute your menu without sinking the business before you serve your first customer.
You need to think strategically about where your money is going. The global market for restaurant equipment is massive—recent estimates put it somewhere between USD 40 billion and USD 108 billion. That tells you just how much capital is flowing into this hardware. For a restaurant owner here in Washington, that means a huge chunk of your startup funds are going into just a few categories. A good rule of thumb is to expect about one-third of your equipment budget to go to the cooking line—your ranges, ovens, and deep fryers—and another quarter to commercial refrigeration. Knowing these benchmarks gives you a realistic financial plan from the get-go. You can always explore more foodservice equipment market insights to get a feel for the trends.
Building Your Equipment Budget Line by Line
Your budget needs to be a direct reflection of your menu and your kitchen's workflow. The best way to start is with a detailed spreadsheet, listing out every single piece of gear you need, station by station.
Get granular here. Don't just jot down "refrigerator." Is that a two-door reach-in commercial refrigerator for the line? A couple of single-door under counter refrigerators for the prep stations? Or maybe a glass-door merchandiser for your Seattle coffee shop refrigerator setup?
This level of detail is what gets you accurate quotes. A pizzeria, for example, is going to sink a lot of cash into a beast of a deck oven and a proper pizza prep table. A classic, high-volume diner, on the other hand, will be budgeting for a huge flat-top griddle and a battery of deep fryers.
The absolute biggest budgeting mistake I see people make is forgetting the "soft costs." You have to account for delivery fees, professional installation, potential electrical or plumbing upgrades, and sales tax. These can easily tack on an extra 10-20% to your total bill. If you ignore them, you'll blow your budget. Every single time.
A well-planned budget becomes your roadmap. It stops you from making expensive impulse buys and makes sure every dollar has a purpose. It's also the key document you'll need to get the financing to make it all happen.
Exploring Your Financing Options
Once you have that solid budget in hand, you can walk into a lender's office with confidence. Very few restaurateurs pay for all their equipment in cash. Financing is a smart move that lets you hold onto your working capital for all the other things you need to launch—inventory, marketing, and making payroll. Here in Washington, you've got a few solid avenues to check out.
- Traditional Bank Loans: These guys usually offer the best interest rates, but they'll want to see a squeaky-clean credit history, a killer business plan, and some serious collateral. The whole process can drag on, so if you go this route, start early.
- SBA Loans: Backed by the Small Business Administration, these loans are often a bit more forgiving for new entrepreneurs. The terms can be more flexible, but be prepared for a mountain of paperwork and a rigorous approval process.
- Equipment Financing: This is probably the most common route for kitchen gear. You're basically getting a loan specifically for your equipment, and the equipment itself acts as the collateral. It streamlines the whole process and is perfect for big-ticket items like a walk-in commercial freezer or a full setup of Seattle bar equipment.
- Equipment Leasing: Leasing is like renting. You pay a set monthly fee to use the equipment without actually owning it. The upside is a much lower upfront cost, and maintenance is often included. When the lease is up, you can typically buy the equipment, sign a new lease, or upgrade to the latest models.
Each option has its trade-offs when it comes to interest rates, ownership, and what you'll pay in the long run. It's always a good idea to chat with a financial advisor who can help you figure out which path makes the most sense for your business and its future. This is how you build your dream kitchen on a financial foundation that's built to last.
Common Questions About Setting Up a Kitchen
When you’re deep in the weeds of planning a new restaurant kitchen, the questions start piling up fast. It’s a huge undertaking, and getting the details right from the jump can save you a world of headaches—and money—down the line. We hear a lot of the same questions from new restaurateurs, so let’s get some answers.
One of the first big decisions is whether to go with new or used equipment. I get it, the price tag on used gear is tempting. But that initial savings can disappear fast when you factor in the risks: no warranty, a murky repair history, and often, much lower energy efficiency. New equipment, while a bigger investment upfront, gives you peace of mind with manufacturer warranties, modern tech, and lower utility bills month after month.
Maximizing Small Kitchen Spaces
So many new spots, especially in a city like Seattle, are working with a tight footprint. The million-dollar question is how to get the most out of every square inch without your team tripping over each other. It all comes down to thinking vertically and picking equipment that does double duty.
- Under Counter Refrigerators: These are non-negotiable in a small kitchen. Putting under counter refrigerators and under counter freezers right at the prep line means your cooks aren't constantly walking back and forth to a walk-in. It’s a huge time-saver and keeps the workflow tight.
- Specialized Prep Tables: Think about a sandwich prep table or a pizza prep table. They combine refrigerated storage for your mise en place right under a dedicated workspace. This kind of consolidation is a total game-changer for efficiency.
- Vertical Shelving: Look up! The wall space above your counters is prime real estate. Get some sturdy wall-mounted shelves to keep ingredients, spices, and smallwares organized and easy to grab.
A classic rookie mistake we see all the time is forgetting to account for "door swing." When you're Tetris-ing your layout, make absolutely sure the doors on your commercial refrigerators and commercial freezers can open all the way without blocking a main pathway or hitting another appliance.
Avoiding Common Kitchen Design Mistakes
What’s the single biggest design flaw we see? A busted workflow, hands down. A layout that makes your staff backtrack or cross paths constantly is a recipe for chaos during a busy service. You’ve got to design your stations in a logical sequence: receiving -> storage -> prep -> cook line -> service.
Another common pitfall is underestimating how much refrigeration you really need. And I'm not just talking about a big walk-in. Your bar needs its own dedicated Seattle bar equipment like back-bar coolers to keep up. If you're running a cafe, a proper Seattle coffee shop refrigerator for milk and grab-and-go items is essential. Trying to cut corners here will absolutely hamstring your service speed and quality.
Ready to build a kitchen that works as hard as you do? From powerful deep fryers to specialized refrigeration, Seattle Restaurant Equipment has everything you need to create an efficient, successful powerhouse. Shop our full collection online and let’s get cooking.