

When you're outfitting a commercial kitchen, every single inch counts. Undercounter refrigerators, freezers, and prep tables are designed with standard dimensions for this very reason—to make sure they slide right into place and integrate smoothly into your workflow. Getting a handle on these measurements is the first step to a well-laid-out, efficient kitchen.
A Guide to Commercial Undercounter Dimensions
For anyone running a restaurant or food truck in Washington state, knowing the standard undercounter fridge dimensions is essential for a seamless prep line. These units are built to fit a specific niche.
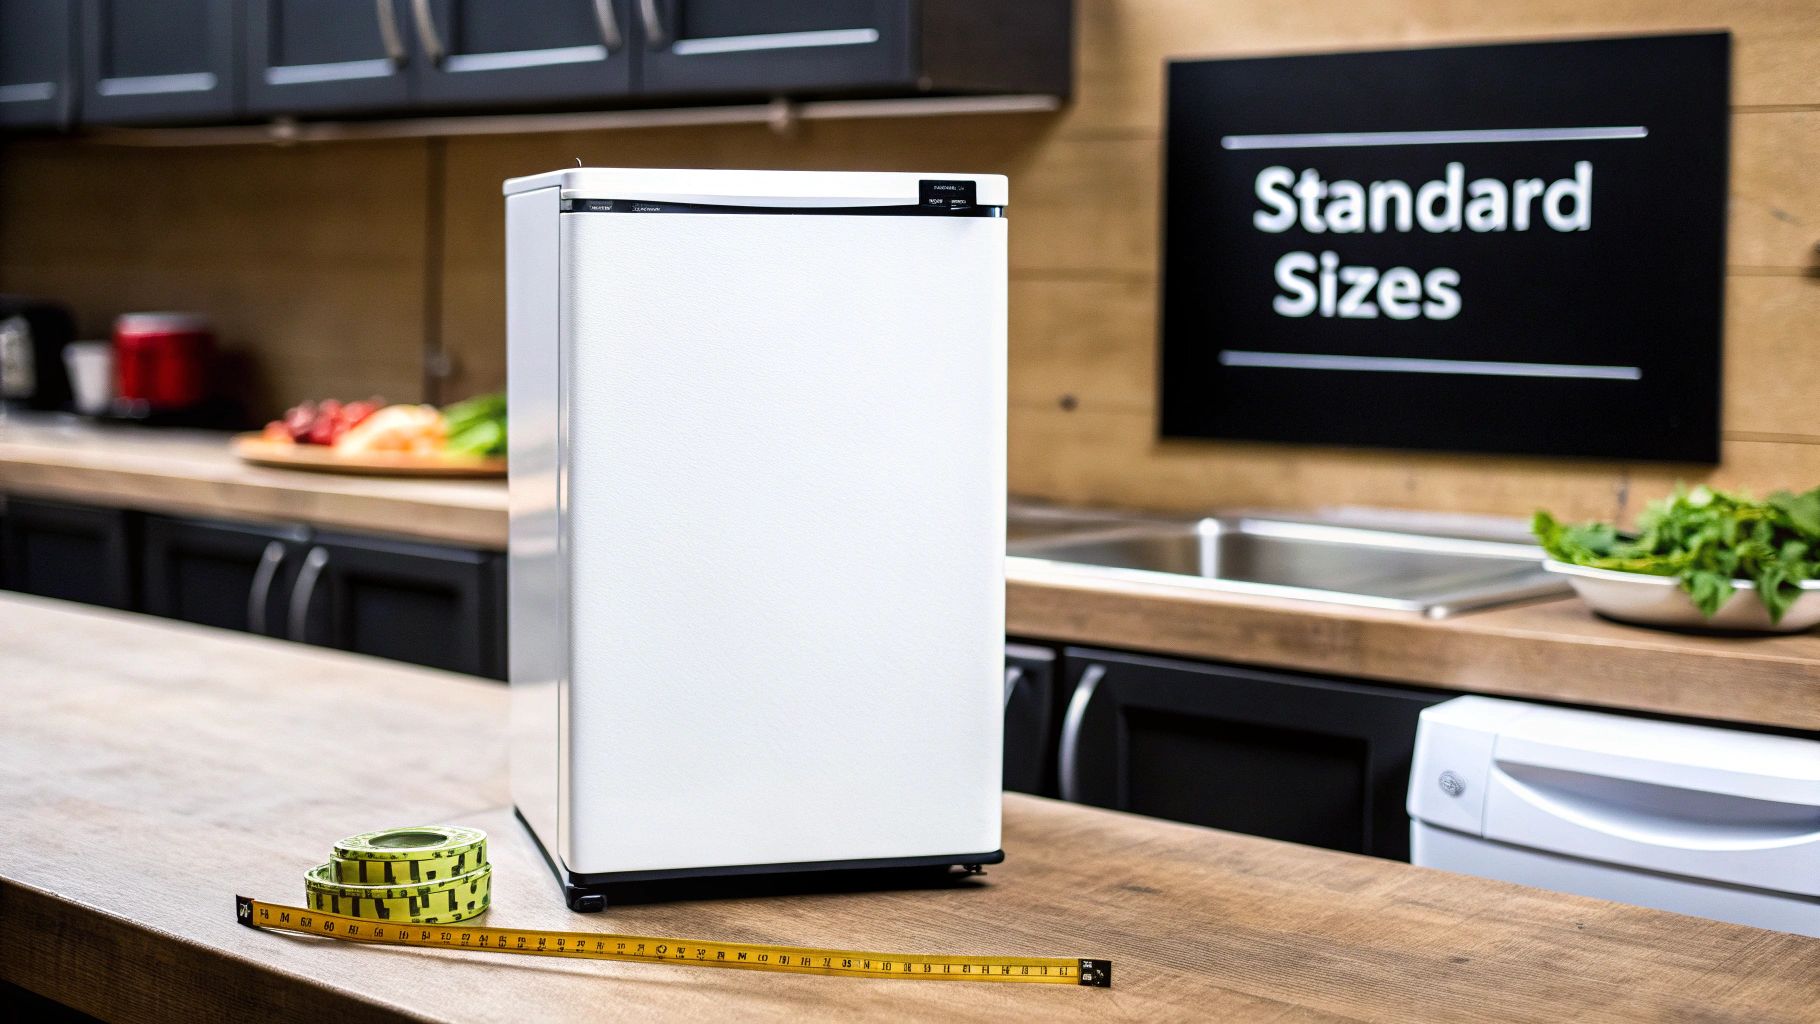
Most undercounter units measure between 34 to 36 inches in height and about 24 inches in depth. They come in standard widths like 15, 24, or 30 inches, making them a perfect fit under standard 36-inch countertops. This design intentionally leaves a crucial inch or two on top for ventilation. If you want to dig deeper, you can explore a complete guide to under the counter fridge dimensions for more insights.
Common Dimensions for Seattle Kitchens
Here in Seattle, picking the right equipment is all about that balance between footprint and function. It doesn't matter if you're setting up a new coffee shop or adding a few deep fryers to a slammed restaurant—the dimensions of your gear will define your kitchen's flow.
At Seattle Restaurant Equipment, we stock a huge selection tailored to these needs, including:
- Commercial refrigerators and commercial freezers: We’ve got various widths to fit everything from a tiny corner to a long prep line.
- Sandwich prep tables and pizza prep tables: These units are workhorses, combining cold storage with a workspace, and they’re sized for pure efficiency.
- Seattle bar equipment: Think compact glass door merchandisers and under counter freezers—must-haves for quick service.
- Seattle coffee shop refrigerators: Perfect for displaying drinks and grab-and-go items while fitting into tight spaces.
Once you know these standard sizes, you can plan your kitchen layout with confidence. You'll know that every piece of commercial-grade equipment will have its perfect spot.
Here’s a quick reference table to make sense of the common sizes you'll encounter for commercial undercounter fridges.
Standard Commercial Undercounter Fridge Dimensions
| Standard Width | Typical Height Range | Typical Depth | Capacity Range (Cubic Feet) | Best For (Seattle Use Case) |
|---|---|---|---|---|
| 15 inches | 34-35 inches | 24 inches | 2.5 - 3.5 cu. ft. | Small coffee shops, bar back-up, food trucks |
| 24 inches | 34-36 inches | 24 inches | 4.5 - 6.5 cu. ft. | Standard prep lines, small restaurants, busy bars |
| 30 inches | 34-36 inches | 24 inches | 6.0 - 8.0 cu. ft. | High-volume kitchens, sandwich prep stations, large bars |
This table should give you a solid starting point for planning your space and figuring out what will work best for your operation.
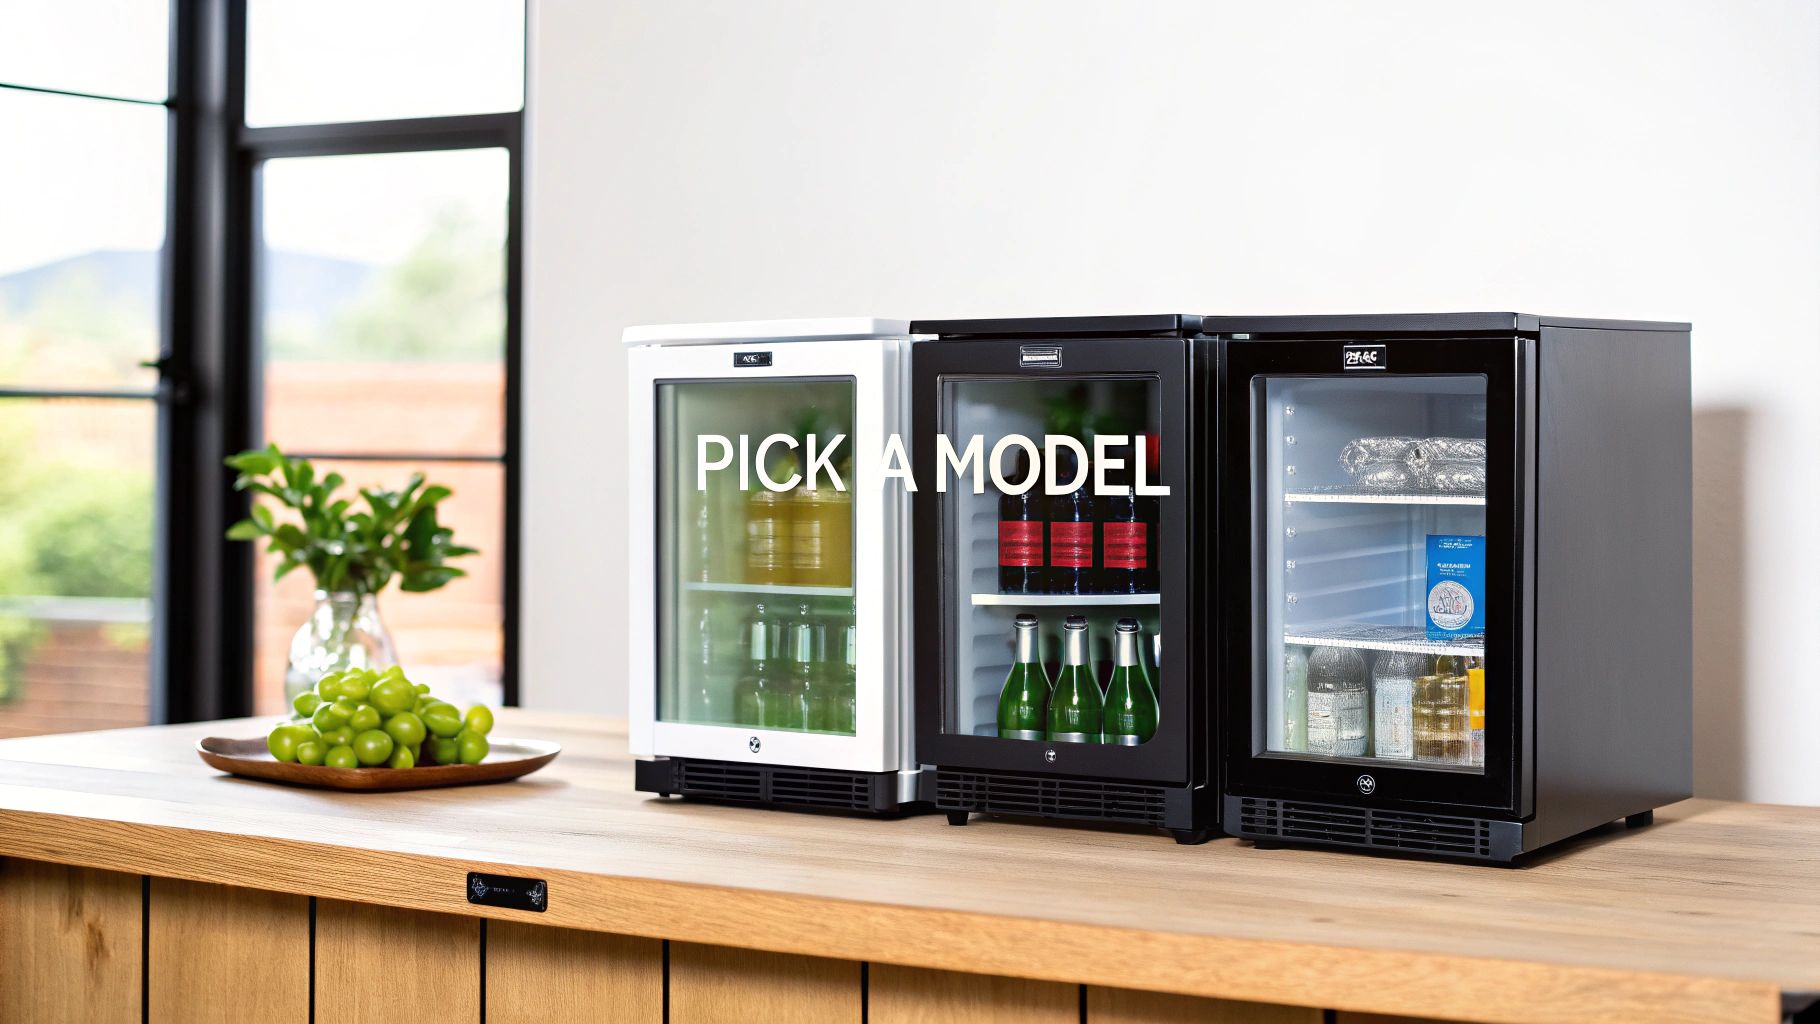
Choosing the Right Undercounter Fridge Model
So, you've measured your space and know what size undercounter fridge you can fit. Great. But that’s just the first step. Now comes the real decision: picking a model that actually works for your kitchen's unique hustle and flow. Getting this right is about more than just finding a box that fits; it's about making your entire operation smoother and more efficient. Different models are built for very different jobs, especially in a demanding commercial kitchen.
Think about it this way: a solid door under counter refrigerator is the unsung hero of the back-of-house prep line. Its tough construction is built to store bulk ingredients out of sight, keeping everything at a perfectly safe temperature. It’s a total workhorse, designed for high-volume kitchens where durability is everything.
On the flip side, a glass door merchandiser is all about presentation. It's the perfect piece of Seattle bar equipment, made to show off drinks and tempt customers into an impulse buy. Staff can see what’s inside at a glance, grab what they need, and check stock levels without ever opening the door. That saves time and energy. You'll see the same logic in a Seattle coffee shop refrigerator, where they're perfect for displaying bottled drinks or grab-and-go snacks.
Matching Model Type to Workflow
The door type is important, but the unit’s actual configuration can make or break your service speed. You've got to match the model to the task at hand.
- Solid Door Units: These belong in the back. They have better insulation and are tough enough to handle the heat and chaos of a busy kitchen. They’re ideal for storing prepped ingredients right next to the deep fryers or griddles.
- Glass Door Merchandisers: A front-of-house must-have for any bar, cafe, or market. They pull double duty, providing cold storage while also acting as a silent salesperson.
- Drawer Units: If you run a sandwich prep table or pizza prep table station, these are a game-changer. Drawers give your chefs immediate, organized access to portioned ingredients. No more bending over and digging into a deep cabinet—just slide and grab.
The global undercounter refrigerator market is already valued at $3.2 billion and is expected to jump to $5.7 billion by 2033. The most popular models, making up 50% of the revenue share, are in the 5-10 cubic feet range—perfect for the tight kitchens you see in Seattle pop-ups.
Ultimately, picking the right model from Seattle Restaurant Equipment comes down to aligning the unit’s design with the rhythm of your kitchen. If you want to dig deeper, you might find our guide on the best commercial refrigerators helpful.
Comparing Built-In and Freestanding Installation
Deciding between a built-in or freestanding undercounter refrigerator might seem like a small detail, but it’s a huge decision that impacts both your kitchen’s look and how long your equipment will last. It really comes down to your kitchen's layout and ventilation needs, because the two types get rid of heat in completely different ways. Getting this wrong is an expensive mistake that can burn out your fridge way too soon.
A built-in undercounter refrigerator is made to fit perfectly flush with your cabinetry, giving you that seamless, integrated look you see in modern Seattle bar equipment. These units pull this off with a front-venting system, which is usually the grille you see at the bottom. It sucks in cool air and pushes out hot air right from the front, letting the unit breathe even when it's snugly tucked into a cabinet.
On the other hand, a freestanding unit is more like a standard mini-fridge. It’s designed to have plenty of open space around it because it vents heat from the back and sides. If you try to box a freestanding model into a tight cabinet space, you’re just asking for trouble. You’re essentially trapping all that heat, forcing the compressor to work itself to death.
Key Differences in Clearance and Use Case
The biggest difference boils down to clearance. A front-venting built-in unit needs very little space—often just 1/8 inch on the sides and top—to slide right into place. This makes it the only real choice for a true under-the-counter setup where the unit is surrounded by cabinets.
For instance, a busy Bellevue bar putting in a new service well would only use built-in models to keep everything looking clean and professional while making sure the fridges work correctly. The same goes for sandwich prep tables or pizza prep tables that have to fit just right in a busy prep line.
An under counter freezer, in contrast, might need 2-4 inches of breathing room on the sides and back for proper airflow. You won't see them as often in tight commercial kitchens, but they do offer flexibility. An Everett food truck owner could choose a freestanding unit to place at the end of a counter where it has plenty of room to breathe, giving them essential cold storage without needing custom-built cabinets.
No matter which you choose, checking the manufacturer's specs on under counter fridge dimensions and ventilation is absolutely non-negotiable.
How to Accurately Measure Your Kitchen Space
Getting the fit right for your new undercounter refrigerator or freezer starts with one thing: accurate measurements. Trust me, inaccurate numbers are the number one reason for installation headaches, leading to frustrating delays and costs nobody planned for. A few extra minutes measuring correctly means your equipment slides in perfectly the first time.
Your real goal here is to measure the installation cutout, not just the appliance itself. Kitchens, whether in Spokane or Tacoma, are almost never perfectly level or square. You have to account for tiny variations in the floors and cabinetry. This is what stops your new sandwich prep table from getting wedged under a low spot in the countertop.
The Three-Point Measurement Method
To make sure you get it right, always take three measurements for both the height and the width. It’s a simple method that accounts for any little quirks in the space.
- Measure Height: Grab your tape measure and check the height on the left side, in the middle, and on the right side of the opening. Always use the smallest of the three numbers—that’s your final height.
- Measure Width: Do the same thing for the width. Measure across the top, middle, and bottom of the cutout. Again, rely on the narrowest measurement to be certain the unit will fit.
- Measure Depth: Run your tape measure from the back wall to the very front edge of your cabinets. Make sure you look for anything sticking out from the wall, like pipes or electrical outlets, that might eat into your usable depth.
Here’s a pro tip that gets overlooked all the time: measure the entire delivery path. It’s a classic mistake to forget about the width of doorways, hallways, and any tight corners. An under counter freezer that fits the space is useless if you can’t get it into the kitchen in the first place.
Pre-Purchase Measurement Checklist
Before you finalize that order with Seattle Restaurant Equipment, just run through this quick list. This is a critical step for everything from a small Seattle coffee shop refrigerator to larger pizza prep tables.
- Record Cutout Dimensions: Write down the smallest height and width, and the total available depth.
- Confirm Delivery Path: Measure every doorway, hall, and corner from your loading dock to the final installation spot.
- Check Door Swing: Make sure the unit’s door will have enough room to open without smacking into other equipment, like your deep fryers or adjacent counters.
- Locate Utilities: Double-check that a suitable electrical outlet is close enough for the unit's power cord to reach without an extension cord.
Properly planning your space is just fundamental to running an efficient kitchen. For a deeper dive on maximizing your whole setup, check out our guide on restaurant kitchen layout design.
Mastering Ventilation and Clearance Requirements
Proper ventilation is the lifeblood of any commercial refrigeration unit. I’ve seen it time and time again: a failure to plan for airflow leads to an overworked compressor, sky-high energy bills, and eventually, a dead piece of equipment.
Thinking about airflow isn't just a suggestion—it dictates your fridge’s efficiency, lifespan, and overall reliability. Every single piece of equipment, from under counter freezers to prep tables, needs some room to breathe. The most important thing to understand is how your specific unit gets rid of heat. This all comes down to whether it’s a front-venting or rear-venting model.
Built-In Front-Venting Systems
Built-in units, the kind you see seamlessly integrated into a bar or a prep line, are specifically engineered with a front-venting system. This design is pretty clever—it pulls in cool air and pushes out hot air through a grille located right at the bottom front of the appliance.
This setup is what allows the unit to be installed flush with the surrounding cabinetry. You only need minimal clearance, often just 1/8 of an inch on the sides and top. This makes them the only real choice if you want that clean, built-in look in a busy coffee shop or restaurant kitchen.
The diagram below gives you a clear visual of the measurements you absolutely must take before you even think about installation.
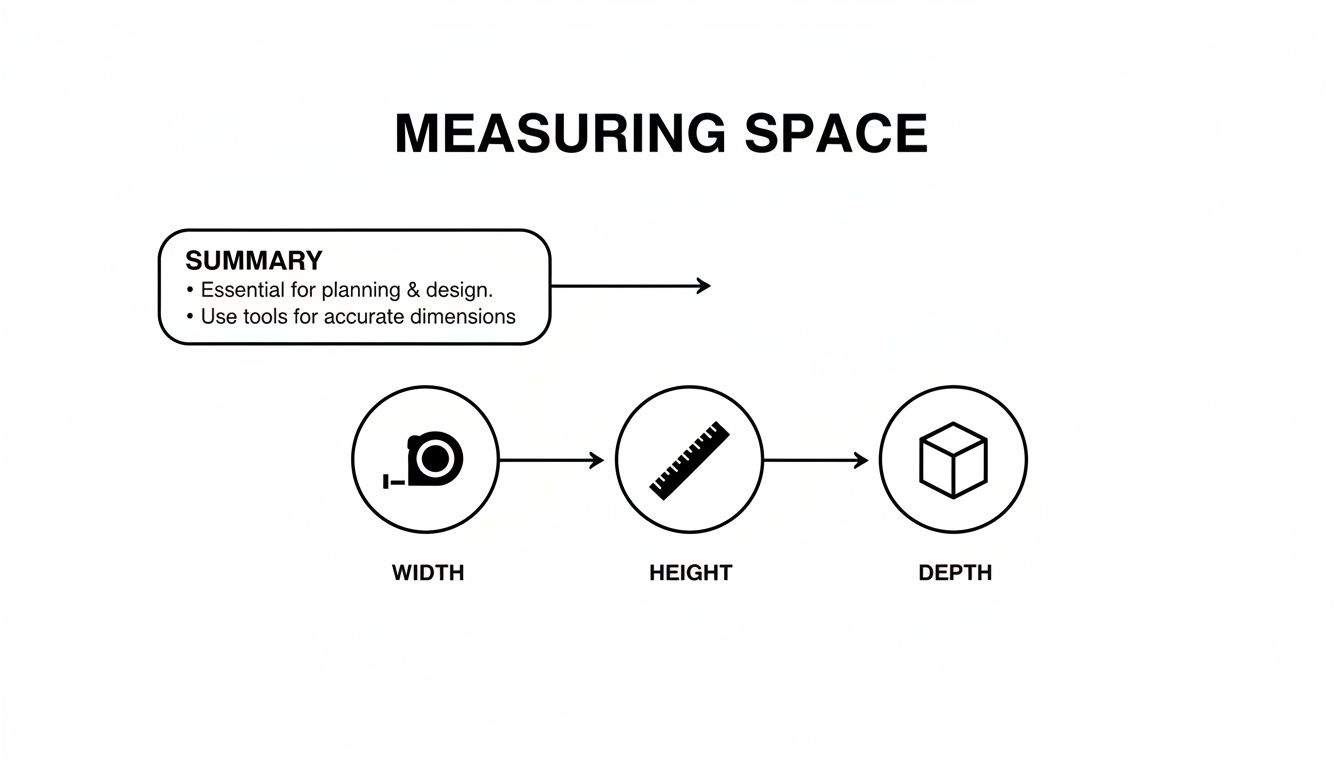
These three measurements—width, height, and depth—are the foundation for a successful installation and proper ventilation. Get these wrong, and you're in for a headache.
Rear-Venting Freestanding Models
Freestanding models are a different beast altogether. They vent heat from the back and sides, which means they need a lot more breathing room. We're talking a solid 2-4 inches of clearance around the back and sides to keep things from overheating.
If you try to box in a rear-venting unit, you're essentially trapping all that hot air. The compressor will be forced to run constantly just to keep up, which is a surefire way to burn it out. This isn't just for fridges; it applies to any freestanding commercial refrigerator, freezer, and even equipment like deep fryers that might be placed near cooled areas.
Proper ventilation isn't just a recommendation from the manufacturer; it's essential for protecting your investment. An overheated compressor can spike your energy use by up to 15%, a cost that really adds up for any foodservice business.
Giving your equipment the right amount of space is one of the simplest things you can do to boost its performance and longevity. You can learn more about protecting your investment by exploring our guide on energy-efficient commercial refrigeration. And always, always double-check the manufacturer's spec sheet for the exact clearance your model requires.
Matching Dimensions to Your Business Needs
Knowing the standard under counter fridge dimensions is a great starting point, but the real trick is matching those numbers to what your business actually does day-in and day-out. The right piece of equipment, in the right spot, can completely change your kitchen's flow for the better, cutting down on staff headaches and boosting your bottom line.
Go too big, and you're just wasting valuable floor space. But a unit that’s too small will have your team constantly scrambling to restock. For businesses all over Washington, the "perfect" size serves a totally different purpose. You're not just buying a cold box; you're investing in a strategic asset for your kitchen.
Smart Solutions for Seattle Foodservice
Here at Seattle Restaurant Equipment, we see exactly how the right dimensions solve real problems on the ground. A busy Seattle coffee shop, for example, is all about speed and making everything look good. A 24-inch wide glass-door merchandiser fits the bill perfectly. It gives them plenty of room for milk and bottled drinks while letting baristas see what’s running low at a glance, all without hogging space in a tight front-of-house area.
Then you have a food truck working its way through Everett or Kent, where every single inch counts. A slim, 24-inch under counter freezer is a lifesaver. It provides essential frozen storage for best-sellers without stealing space from crucial cooking equipment like deep fryers. That small footprint keeps key ingredients right where they need to be.
Optimizing High-Volume Kitchens
When we look at high-volume spots, like a pizzeria in Tacoma or a deli in Spokane, the conversation shifts from single units to fully integrated prep stations.
- Pizza Prep Tables: For a pizza joint, a multi-drawer 48-inch or 60-inch pizza prep table is a complete game-changer. The refrigerated base keeps all your toppings organized and perfectly chilled, and the massive countertop gives you all the room you need for stretching dough. It makes the whole assembly line so much smoother.
- Sandwich Prep Tables: A bustling deli needs that sweet spot between cold storage and workspace, and a 36-inch sandwich prep table delivers. The refrigerated rail holds condiments and meats at safe temps, letting your crew fly through orders during that chaotic lunch rush.
Choosing the right dimensions isn't just about making sure a unit fits into a gap. It's about building an efficient kitchen ecosystem where every piece of equipment, from your commercial refrigerators to your specialized Seattle bar equipment, works together to make service faster and smoother.
When you connect specific under counter fridge dimensions to your actual business model, you can build a kitchen that’s truly set up for success. The goal is to find equipment that not only fits your layout but also enhances the natural rhythm of your operation.
Your Undercounter Fridge Pre-Purchase Checklist
Alright, you've done the measuring, you've picked a model, but don't hit that "buy" button just yet. Making the final call on a new unit goes way beyond the basic under counter fridge dimensions. Think of this checklist as your last walkthrough before you commit, making sure the unit you get from Seattle Restaurant Equipment is a perfect fit for your Washington kitchen.
We're talking about everything from the plug in the wall to which way the door swings. Each point here is critical for a smooth install and a life without headaches later.
Final Verification Steps
Before you pull the trigger, you need to be 100% sure your chosen spot can actually handle the unit. This isn't just about the cutout space—it’s about the whole journey, from your receiving door all the way to its final home under the counter.
Go through this list and double-check your needs against the unit's spec sheet. This applies to everything, whether it's a small under counter freezer for your food truck or a big sandwich prep table for a slammed downtown deli.
- Electrical Compatibility: Is this a standard 115V plug-and-play unit, or does it need its own dedicated 208/230V circuit? Getting this wrong is a costly mistake. Make sure your kitchen's electrical setup can handle what the equipment needs.
- Door Swing and Clearance: Picture it in your space. Will the door swing open without blocking a busy walkway or smacking into your deep fryers? You need enough clearance for staff to get in and out of the fridge easily during a rush.
- Caster and Leg Height: If the unit is on casters or has adjustable legs, did you include their height in your total measurement? This is a classic "oops" moment that keeps a fridge from sliding cleanly under the counter.
- Interior Configuration: Look inside. Does the shelf or drawer layout actually work for what you need to store? A Seattle coffee shop refrigerator holding milk cartons has totally different needs than a pizza prep table holding ninth pans.
A final, thorough check is what separates a smooth installation from a total nightmare. Taking an extra ten minutes now to walk through these details can save you hours of downtime and frustration. It ensures your investment starts working for you from day one.
Before you make that final decision, let's put it all together. This checklist is your last line of defense against buyer's remorse, helping you confirm every little detail.
Final Undercounter Fridge Purchase Checklist
Use this table to methodically verify each critical aspect of your potential new undercounter unit. It helps ensure you haven't overlooked any small but crucial details that could cause problems during installation or daily operation.
| Checklist Item | Verification Status (Yes/No/NA) | Notes |
|---|---|---|
| Space Dimensions Confirmed (W x D x H) | e.g., Cutout is 36.5" W x 29.5" D x 36" H | |
| Ventilation Clearance Accounted For | e.g., Added 2" to rear, 1" to sides | |
| Delivery Path Measured & Clear | e.g., All doorways are at least 32" wide | |
| Electrical Outlet Voltage & Amperage Match | e.g., Confirmed 115V/15A outlet available | |
| Door Swing Direction & Clearance Checked | e.g., Right-hinge door won't block walkway | |
| Caster/Leg Height Included in Height | e.g., Total height with casters is 35.5" | |
| Interior Layout Suits Product Needs | e.g., Shelves fit standard hotel pans | |
| Countertop Edge Overhang Considered | e.g., 1" overhang, unit depth is fine | |
| Warranty & Service Info Reviewed | e.g., 3-year parts, 5-year compressor |
Running through these points one last time gives you the confidence that you're making the right call. It's the simple, practical step that guarantees your new equipment will be an asset, not a problem, from the moment it arrives.
Answering Your Questions About Undercounter Dimensions
After you've done the measuring and planning, a few practical questions always seem to pop up. Getting these details right is the last step before you can confidently pick a unit from Seattle Restaurant Equipment that will slide into place and work perfectly from day one. These are the real-world issues that restaurant and bar owners run into all the time.
One of the most common questions is about countertop height. In most commercial kitchens, standard countertops are 36 inches high. You'll find that nearly all under counter refrigerators, including commercial freezers and prep tables, are built to be between 34 and 35.5 inches tall. This gives you just enough wiggle room to get the unit in place while leaving space for that all-important top ventilation.
Fitting Units into Unique Spaces
Tight or unconventional kitchen layouts are another frequent headache. What do you do if your space is just a little smaller than standard? Always, always use the narrowest width and shortest height measurement you took from your cutout. If you find that a standard 24-inch model is still too wide, look into a slimmer 15-inch unit. We see these a lot in our Seattle bar equipment selection, where they provide essential cold storage without hogging precious floor space.
The biggest mistake you can make is trying to wedge a residential mini-fridge into a commercial built-in spot. It's a recipe for disaster. Those units are designed to vent from the back and sides, and they will quickly overheat and fail if you enclose them. This not only leads to a dead appliance but also voids your warranty. You absolutely must choose a commercial-grade, front-venting unit for any built-in installation.
This isn't just a suggestion—it's non-negotiable for integrated workhorses like sandwich prep tables and pizza prep tables that have to run reliably within a crowded prep line.
Commercial vs. Residential Models
It’s crucial to understand that the difference between commercial and residential undercounter units is about much more than just dimensions. It comes down to durability and raw performance.
- Durability: Commercial refrigerators are built to take a beating. They use stainless steel and heavy-duty components designed for the constant use of a high-volume kitchen, from the heat of a deep fryer line to the frantic pace of a Seattle coffee shop.
- Cooling Power: A commercial freezer or fridge has a much more powerful compressor. This allows it to recover its cold temperature rapidly after the door has been opened and closed dozens of times an hour, which is critical for meeting food safety standards.
- Certifications: To operate legally, commercial kitchens need equipment that meets specific health and safety codes, like NSF certification. This is a requirement for most foodservice businesses in Washington.
Getting these questions answered ahead of time helps you avoid expensive installation mistakes. It ensures that the equipment you pick—whether it's an under counter freezer or a new prep table—becomes a valuable asset to your business, not a problem you have to solve.
For a complete selection of commercial-grade undercounter units tailored to your business needs, explore the inventory at Seattle Restaurant Equipment and find the perfect fit for your Washington kitchen today. Visit us at https://seattlerestaurantequipment.com.